Introduction
RadonClear whole-home systems are designed for reliable radon mitigation, but occasional issues can arise that affect performance. Understanding common problems and their fixes can help homeowners maintain safe radon levels without unnecessary service calls. This guide covers the most frequent troubleshooting scenarios encountered with RadonClear systems, from fan malfunctions to pipe condensation, providing practical solutions you can implement yourself.
Why Is My RadonClear Fan Making Unusual Noises?

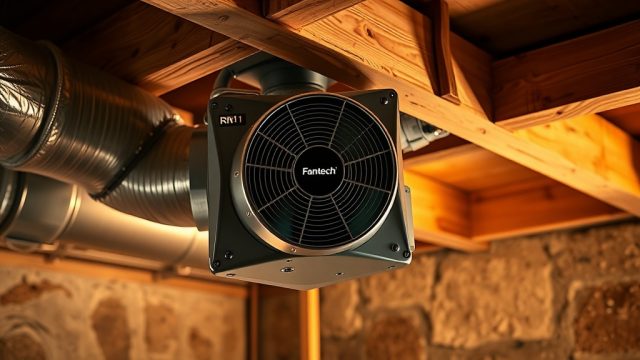
Unusual noises from a RadonClear fan typically indicate debris in the impeller, loose mounting hardware, or bearing wear. A grinding sound often means gravel or small objects entered the system during installation. A rattling noise suggests loose screws or brackets. A high-pitched whine warns of failing fan bearings.
Immediate fix: Turn off the system and disconnect power. Inspect the fan housing for visible debris—use a flashlight to check through the access port. Remove any foreign objects with long tweezers or a vacuum with a narrow attachment. Tighten all mounting bolts (use a torque wrench set to 8–10 Nm for most RadonClear models). If bearing noise persists after cleaning, the fan requires professional replacement—contact RadonClear support for warranty-covered units.
When to call a pro: If the fan vibrates excessively (causing pipe movement) or emits a burning smell, shut down immediately. These signs indicate electrical failure or seized bearings, which need certified technician intervention.
Preventative Maintenance
- Install a radon-ready fan cover if the unit is outdoors
- Inspect the fan intake screen monthly for blockages
- Schedule professional inspection annually
Why Is the Manometer Reading Zero or Abnormal?
The manometer measures the pressure differential created by the radon fan—a zero reading usually means no airflow. Common causes include a tripped GFCI outlet, a disconnected electrical plug, a fan that hasn’t started after power outage, or a broken manometer tube.
| Manometer Reading | Likely Cause | Action Required |
|---|---|---|
| Zero (no movement) | No power to fan | Check GFCI; reset breaker; verify plug connection |
| Zero (U-tube fluid flat) | Fan not running | Wait 5 minutes; if still off, test with voltage meter |
| Consistently High (>2.0 inches WC) | Restricted airflow | Check vent pipe for ice/obstruction; inspect filter |
| Fluctuating rapidly | Loose manometer tubing | Reattach tubing firmly; use thread sealant |
| Lower than normal (50% of baseline) | Blockage in suction system | Inspect radon pit for debris; check sump liner |
Step-by-step: If the manometer shows zero, first ensure the circuit breaker for the radon system is on (usually a dedicated 15-amp breaker). Press the GFCI test/reset buttons on the outlet—many RadonClear systems use a GFCI in the basement. Verify the fan’s power cord is fully inserted (a loose connection is surprisingly common). If still zero, unplug the manometer tube from the tee fitting and blow gently—air should move freely. Resistance indicates a clogged tube; replace with 3/8-inch vinyl tubing (available at hardware stores for about £3 per metre).
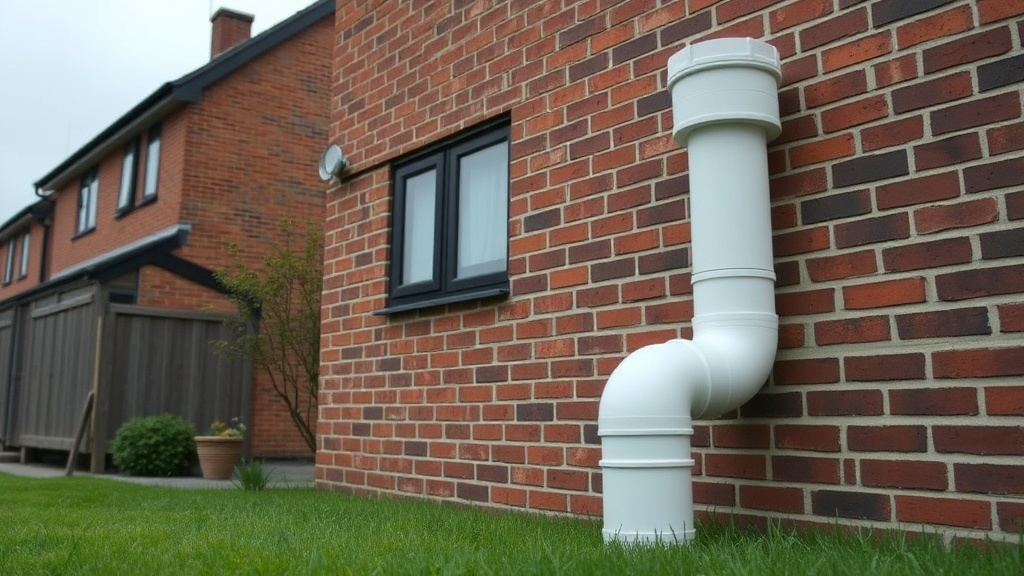
Why Is There Condensation or Water in the RadonClear Vent Pipe?
Condensation in radon vent pipes occurs when warm, humid basement air meets cold outdoor temperatures—common in the UK during autumn and winter. Water accumulation can block airflow, reduce fan efficiency, and cause gurgling sounds. For exterior installations, the problem is amplified.
Immediate fix: Inspect the outside vent pipe end—ice blockage often forms at the discharge point. Use a hair dryer to melt ice (never use an open flame). For indoor pipes, install an additional condensate drain tee at the lowest point of the vertical riser. RadonClear systems include one drain tee, but adding a second (available at radon supply stores for about £25) can solve persistent moisture issues. Ensure the drain line slopes downward ¼ inch per foot and has a 6-inch trap filled with water to maintain system integrity.
Long-term solution: Wrap the exposed vent pipe with 2-inch closed-cell foam insulation (R-value 3.5 minimum; cost about £1.50 per metre). Insulate from the basement ceiling to at least 3 feet above the roofline. If condensation persists, consider a fan upgrade to a heat-tolerant model (RadonClear offers the RC-HT for high-humidity conditions).
Why Does the RadonClear System Keep Tripping the GFCI Outlet?
Frequent GFCI tripping indicates a ground fault leak in the fan motor, moisture entering the electrical connection, or moisture in the junction box. Ground faults occur when electrical current escapes to ground—often 5–10 milliamps, enough to trip a standard GFCI (which triggers at 5 mA).
Immediate fix: Unplug the fan from the GFCI outlet. Use a multimeter to check resistance between each motor lead and ground (should be infinite). If you measure <1 megohm, the fan motor is compromised. Check the outlet for moisture (use a moisture meter; readings >15% indicate water ingress). Seal the j-box with silicone caulk around conduit entries. Replace the GFCI outlet if it’s older than 10 years (about £15 for a new one).
When to upgrade: Some RadonClear fans draw inrush current that can nuisance-trip standard GFCIs. If the fan is less than 3 years old, install a GFCI breaker at the panel instead of the outlet (cost: approximately £40 plus electrician labour). This offers wider tolerance while maintaining safety.
Why Is the Radon Level Not Decreasing After System Installation?
If radon levels remain high after a RadonClear system is installed, the most common issue is that the fan isn’t creating enough negative pressure in the soil. This happens when the suction pit is too shallow, the soil is highly permeable, or there are bypass routes (like cracks in the slab or block walls) that prevent proper vacuum distribution.
Immediate fix: Verify the fan is running (check manometer; should read 0.5–2.0 inches WC). Compare baseline readings—a new system should reduce levels within 72 hours. Seal visible slab cracks with polyurethane foam (cost about £10 per tube). Check that all interior windows and doors near the system are closed tightly—especially when installed alongside radon sump systems. If levels drop partially but remain elevated, install additional suction points in the basement slab. RadonClear systems can support up to 4 suction points with proper balancing dampers.
Advanced troubleshooting: Perform a smoke test—light an incense stick near the pit connection. If smoke doesn’t pull inward, the pit lacks enough vacuum. Dig away the pit’s gravel to create a larger cavity (minimum 3 cubic feet of open area). If still problematic, install a larger fan (e.g., RadonClear RC-200 for soils with permeability above 10⁻¹² m²).
Why Is the RadonClear Fan Vibrating or Rattling the Pipes?
Pipe vibration usually stems from fan imbalance, undersized pipe diameters, or improper mounting. A fan that vibrates excessively can loosen joints over time and even crack pipes. UK building regs require radon vent pipes to be securely fastened—vibration often violates these standards.
Immediate fix: Inspect all pipe hangers—standard practice is one hanger every 1.2 metres. Tighten loose saddle clamps. For the fan itself, ensure it’s mounted on a vibration-isolation pad (available for about £20—cut from rubber matting). If the fan has an unbalanced impeller, check for ice buildup on intake blades in winter; melting resolves this. If vibration persists, use a pipe wrap—3-inch wide neoprene strap material (about £12 for 10 metres) wraps around the pipe at support points to dampen transmission.
When to replace pipe: If vibration has caused pipe joints to loosen and you hear air leaks (hissing), tighten joints with PVC cement. Cracked schedule-40 pipe must be replaced—use the same diameter (usually 4-inch for RadonClear systems). Never downsize pipe to reduce vibration; it increases noise and reduces airflow.
What Owners Say
UK homeowners and radon mitigation professionals routinely share their experiences with RadonClear systems on independent forums and trade sites. Many praise the fan reliability—specifically the RC-150 and RC-190 models—citing low failure rates over five-plus years. Common maintenance feedback focuses on two areas: condensation management and manometer longevity. Several owners recommend adding an external condensate trap during initial installation (as detailed in the installation guide) to avoid downstream issues. Professional installers note that proper initial sealing of the suction pit base with bentonite clay (commonly used by UK professionals) drastically reduces later troubleshooting needs. Negative feedback sometimes mentions the noise level of the larger RC-200 fan in interior installations—the 55 dBA rating is slightly louder than competitors’ premium models—but owners note that proper insulation and a dedicated cupboard can mitigate this.
Frequently Asked Questions
1. How often should I check my RadonClear manometer?
Monthly visual inspection is recommended. If you see green fluid in the centre (normal) vs. one side empty (zero), action is needed.
2. Can I replace the fan myself under warranty?
RadonClear warranty covers parts for 10 years, but labour is not included for DIY installations. For safety, professional replacement is recommended—especially for electrical work.
3. Why does my system seem louder at night?
Temperature changes can cause pipe expansion/contraction. Also, nighttime ambient noise is lower, so fan hum becomes more noticeable. Insulate the pipe near living areas to reduce transmission.
4. How long does it take for new system to lower radon?
RadonClear systems typically reach target levels within 48–72 hours after final pressure stabilisation. If levels don’t drop after 1 week, call a certified technician.
5. Can I paint the exterior radon vent pipe?
Yes, but only with exterior-grade latex paint. Avoid oil-based paints that can degrade PVC. Use a primer first, and ensure paint thickness is minimal to avoid weight-induced stress on joints.
6. What does the blinking green light on the fan mean?
A slow blink (once per 5 seconds) is normal operation. Rapid blinking (every 1 second) signals a fault—usually temperature or voltage drop. Check incoming voltage (should be 220–240V in the UK). Fast continuous blink means motor lock—call support immediately.