How to Install Fantech RN1 Radon Fan: Step-by-Step Guide
Installing a Fantech RN1 radon fan is a critical step in reducing radon gas levels in your home, but getting it right involves specific technical choices and safety protocols. This guide walks you through the entire process, from site evaluation to final testing, with practical advice for DIY enthusiasts and contractors alike. By following these steps, you’ll ensure the fan operates at peak efficiency and meets common building codes.
1. What Tools and Materials Do You Need for Fantech RN1 Installation?
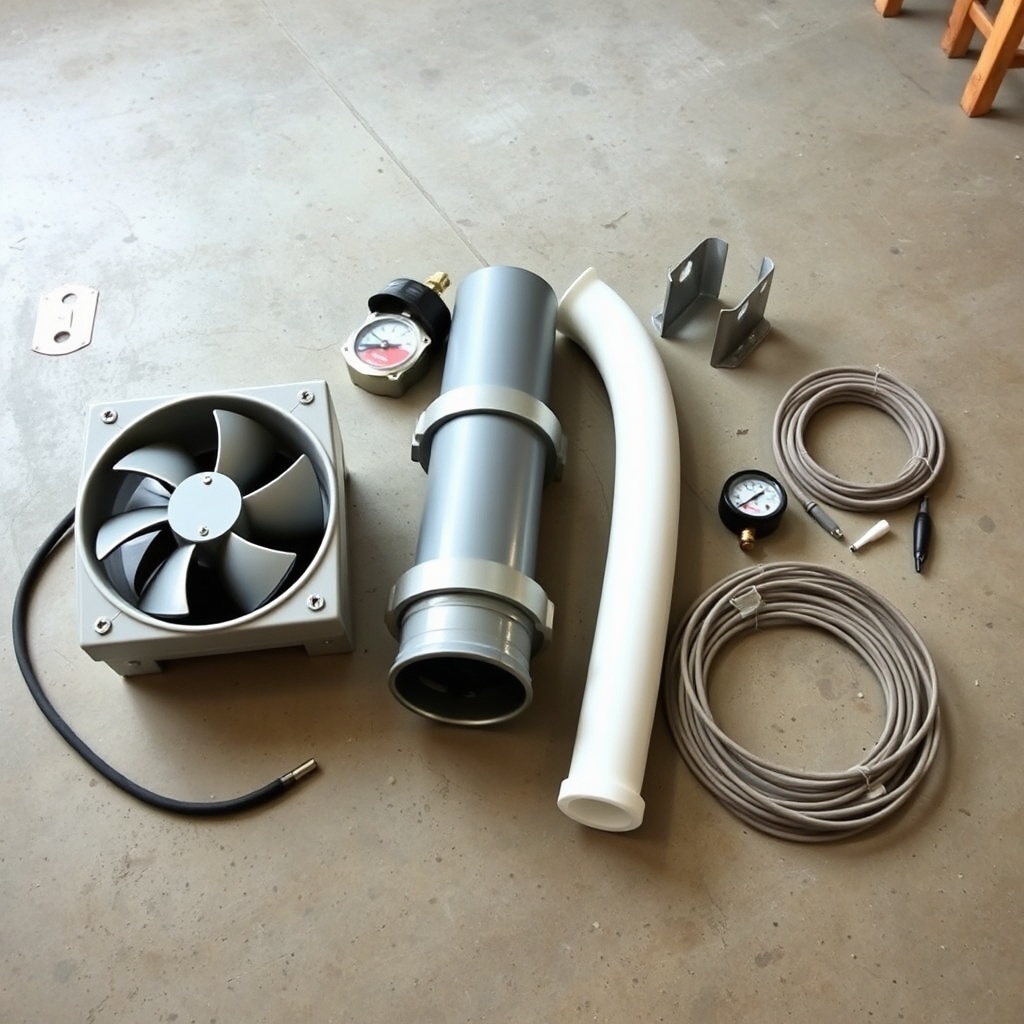
Before starting, gather all necessary equipment to avoid delays. The Fantech RN1 is a robust inline fan designed for sub-slab or crawlspace depressurization systems, and it requires specific tools for secure mounting and airtight ducting.
- Primary components: Fantech RN1 fan unit, approved PVC pipe (typically 4-inch diameter for inlet and outlet), steel mounting bracket, and vibration isolators (included with most kits).
- Fasteners: 3/8-inch lag bolts or concrete anchors (for slab mounting), plus stainless steel screws for pipe clamps.
- Sealants: High-quality PVC cement and primer (must be compatible with radon systems), and outdoor-rated silicone caulk for final sealing.
- Electrical: 14-gauge weatherproof wire, outdoor-rated junction box, and GFCI-protected outlet or hard-wire connection. The RN1 runs on 120V and draws about 1.0 amps.
- Testing gear: Manometer (U-tube or digital) to verify system depressurization, and a radon test kit (short-term or continuous monitor) for post-installation verification.
- Safety items: Safety glasses, dust mask (especially during concrete drilling), and heavy-duty gloves.
A typical installation costs around $1,200 to $2,000 in materials and labor (professional rates vary by region), but DIY can cut costs to roughly $400–700 for fan and materials alone.
2. Where Should You Mount the Fantech RN1 Fan Indoors vs. Outdoors?
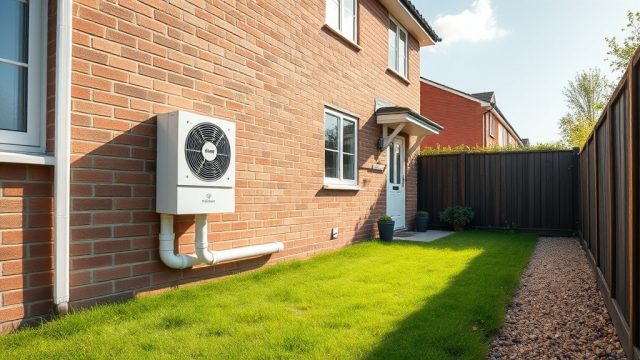
Placement is critical for noise reduction, accessibility, and weather protection. The RN1 is rated for outdoor installation (NEMA 3R enclosure), but most homeowners mount it inside an attic or basement to minimize weather exposure and simplify maintenance.
- Outdoor installation: Mount the fan on an exterior wall at least 12 inches above expected snow line. Use included vibration isolators and a weatherproof cover. Ensure the exhaust pipe points away from windows, doors, and air intakes by at least 10 feet per typical codes.
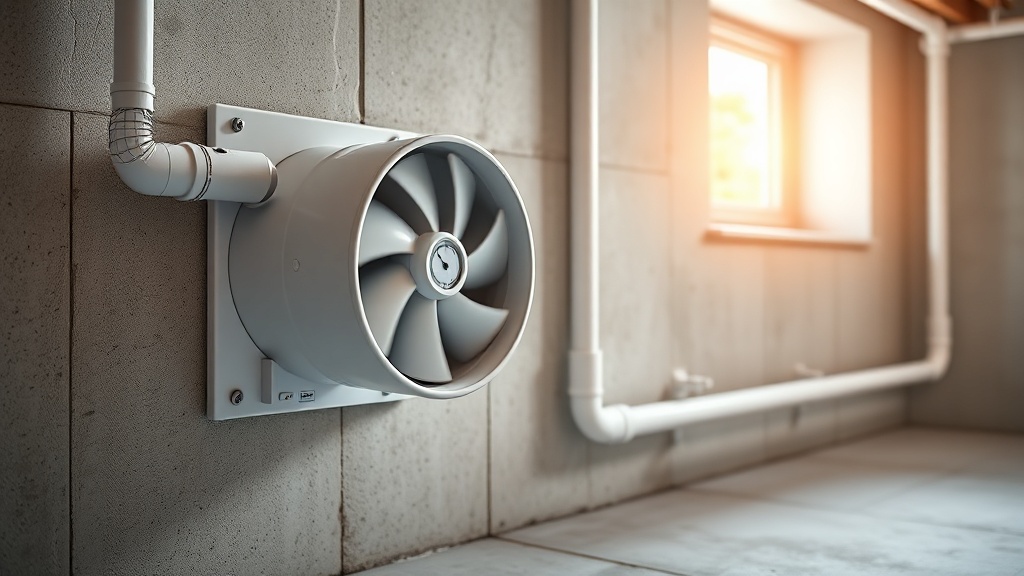
- Indoor installation: Choose a location in an unfinished basement or garage, away from living spaces to reduce noise. The RN1 produces about 4.1 sones at full speed (very quiet for a radon fan). Mount near a sub-slab suction point or crawlspace access, with the exhaust pipe routed vertically up and through the roof.
- Key rule: Never install the fan in a living area or near an air exchanger; the fan pulls from the sub-slab, so the system must create a negative pressure gradient. Use a manometer to confirm at least 0.5 inches water column negative pressure after installation.
For most single-family homes, mounting the RN1 on an interior basement wall with a straight vertical exhaust pipe is optimal. Avoid horizontal runs longer than 5 feet without an additional support bracket.
3. How to Connect the Fantech RN1 to the Sub-Slab Suction Pit?
This step ensures the fan draws radon from beneath the concrete slab efficiently. A poorly sealed pit reduces system performance significantly.
- Locate suction pit: Drill a 4-inch hole through the concrete slab using a hammer drill. The hole should be at least 2–3 feet deep into the gravel base (if possible). Vacuum out any debris.
- Insert PVC pipe: Place a 4-inch PVC pipe into the hole, extending about 1 inch above the slab. Use a rubber coupler or PVC boot for a watertight seal. Fill around the pipe with concrete patch or epoxy.
- Connect to fan: Run PVC pipe from the suction pit to the fan inlet. Use long-radius 90-degree elbows (not short-radius) to minimize airflow resistance. Glue all joints with PVC cement.
- Seal all joints: Every PVC joint must be airtight. Use primer and cement on all connections, then wrap with foil tape for extra security (optional but recommended by some codes).
Test the connection by temporarily blocking the system and using a manometer at the fan inlet; you should see a vacuum reading of at least 1.0 inches water column with the fan running, depending on soil permeability.
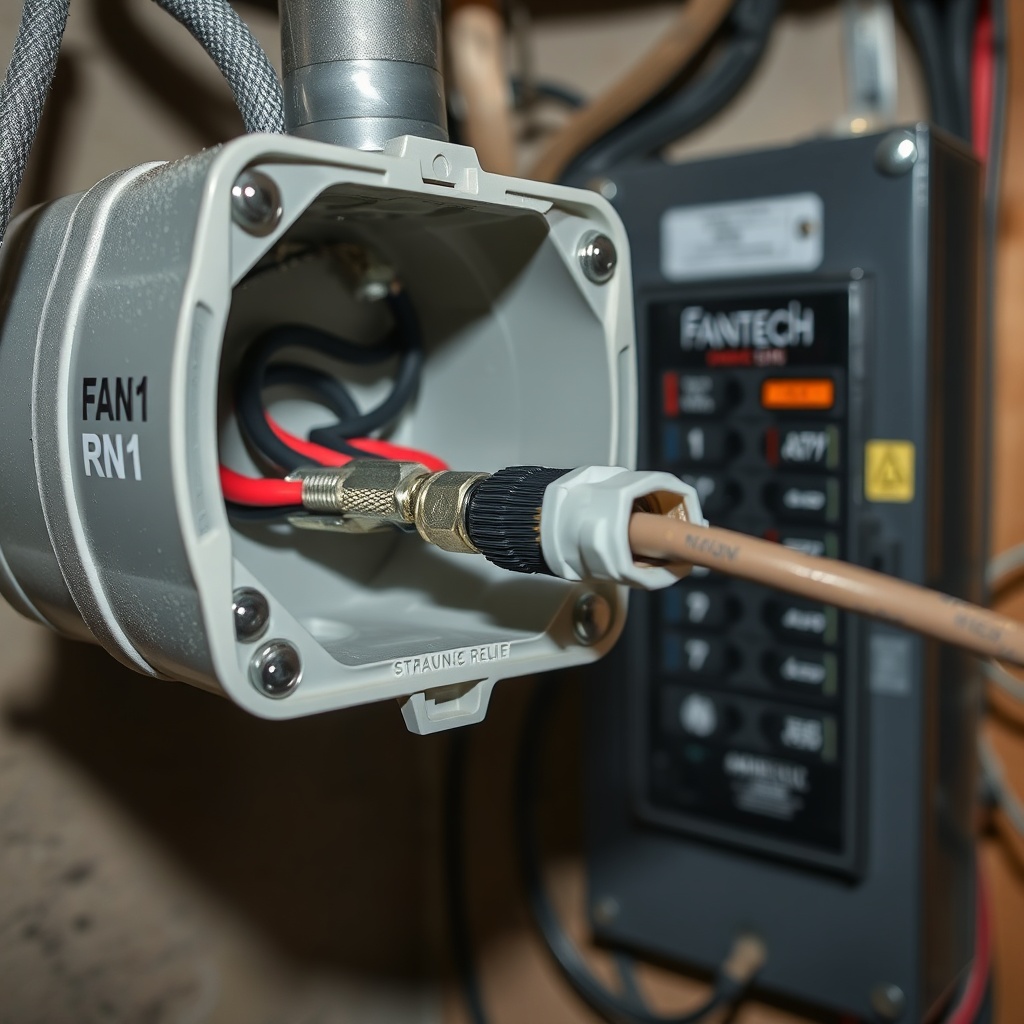
4. How to Wire the Fantech RN1 Fan for Safe Electrical Operation?
The RN1 includes a junction box for hard-wiring. Electrical work must comply with local codes—many areas require a licensed electrician for this step.
| Issue | Severity Level |
|---|---|
| Loose wiring connection (fan runs intermittently) | Usually not urgent—can be fixed by tightening connectors; but if fan stops, radon levels may rise, so address within a week. |
| GFCI outlet not installed (fan directly wired to non-GFCI circuit) | Needs attention soon—risk of electrical shock if moisture enters. Install GFCI within days. |
| Fan motor overheats due to voltage mismatch (e.g., 120V fan on 240V circuit) | Emergency—risk of fire or motor failure. Turn off power immediately and consult an electrician. |
Wiring steps:
- Turn off power at breaker box.
- Remove fan cover (4 screws) to access junction box.
- Connect black (hot), white (neutral), and green (ground) wires using wire nuts. Secure with electrical tape.
- Attach a strain relief connector where wire enters the junction box.
- Replace cover, secure with screws, and restore power. Test fan operation (listen for smooth, balanced hum).
Always include a local disconnect switch within sight of the fan (per NEC Article 430) for safe maintenance. If hard-wiring is beyond your skill level, hire a professional; this is a common area of failure in radon systems, as described in Fantech RN1 Troubleshooting: Common Problems and Fixes.
5. How to Test the Fantech RN1 System After Installation?
Post-installation testing verifies the system works and reduces radon to safe levels (below 4 pCi/L in the U.S., though 2.7 pCi/L is recommended by the EPA).
- Manometer reading: Install a manometer on the system’s vent pipe—typically on the suction side. A reading of 0.5 to 2.0 inches water column is normal for the RN1, depending on soil conditions. If below 0.5, check for leaks or blocked pipes.
- Radon test: Conduct a short-term radon test (2–7 days) in the lowest lived-in level of the home. Follow manufacturer instructions for placement (avoid drafts, heat sources, and high humidity). Many states require a test by a certified professional.
- Noise check: The RN1 is rated at 4.1 sones—barely audible at normal conversation level. If you hear rattling or grinding, check vibration isolators and fan mount. Vibration noise is often caused by loose brackets.
Record your manometer baseline and radon levels for future reference. If radon levels exceed 4 pCi/L, inspect the system for leaks or consider upgrading to a larger fan (like the Fantech RN2) for higher airflow demand. For more safety notes on exposure, read Fantech RN1 Safety Considerations: Reducing Radon Exposure Risks.
6. What Do Owners Say About Installing the Fantech RN1?
Real-world feedback from homeowners and installers highlights two main themes: ease of installation and long-term reliability.
Owner observation 1: “I installed the RN1 in my unfinished basement last spring. The instructions were clear enough for a DIYer with basic plumbing knowledge, but the wiring was trickier—I was glad I called an electrician. The fan is very quiet; I barely notice it running. My radon dropped from 8.2 pCi/L to 1.1 pCi/L.”
Owner observation 2: “The included vibration isolators are essential. Initially, I mounted the fan directly to a joist without them, and the noise was annoying. After adding the rubber mounts and rerouting the pipe with a long-radius elbow, it’s silent. I’ve had it for two years with zero issues—just annual checks of the manometer.”
Frequently Asked Questions
Can I install the Fantech RN1 outdoors in a cold climate?
Yes, the RN1 is NEMA 3R rated for outdoor use, but moisture condensation in the exhaust pipe can freeze. In regions with prolonged freezing temperatures, insulate the pipe or install the fan inside. Also, ensure the exhaust pipe has a slight downward slope to drain condensation away from the fan.
How long does a typical Fantech RN1 installation take?
A professional installation usually takes 4–6 hours, including sub-slab drilling, pipe routing, wiring, and testing. DIY can take 8–12 hours if you are new to radon systems. Plan for extra time if your foundation or soil conditions are unusual.
Do I need a permit to install the Fantech RN1?
Many jurisdictions require a building or HVAC permit for radon mitigation systems, especially if you’re making structural changes (e.g., drilling through concrete slabs). Check with your local building department; failure to get a permit may void insurance or complicate a home sale.
What is the warranty on the Fantech RN1?
Fantech offers a 5-year limited warranty on the RN1 motor and housing. The warranty covers defects in materials and workmanship but not damage from improper installation, misuse, or power surges. Keep your purchase receipt and note the serial number for claims.
Can the Fantech RN1 be used in a crawlspace?
Yes, the RN1 works well in crawlspaces. Mount the fan on a wall or sturdy joist above the crawlspace floor to avoid moisture damage. Route the exhaust pipe through the foundation or up through the roof. Ensure the crawlspace is encapsulated (vapor barrier) for maximum effectiveness, as discussed in Fantech RN1 Radon Fan Review: Quiet and Efficient Operation.
How do I maintain the Fantech RN1 after installation?
Annual maintenance includes checking for visible pipe leaks, cleaning fan blades (if accessible), and testing manometer pressure. Every 2–3 years, lubricate the motor bearings (refer to manual). Also, test radon levels every two years or after major renovations. Common issues like loose seals or debris are covered in Fantech RN1 Troubleshooting: Common Problems and Fixes.