How Should You Prepare for Installing the Airthings Wave Plus?
Before you mount the Airthings Wave Plus, you need to understand that correct placement is the single most important factor for accurate radon readings. The device measures both radon gas and airborne particles, so choosing the right location ensures reliable data for your family’s health. Start by identifying the lowest livable floor of your home—typically a basement or ground floor—since radon concentrations are highest there.
You will need the following items: the Airthings Wave Plus unit, three AA batteries (Lithium or High-Performance Alkaline recommended), a smartphone with the Airthings Wave app installed, and optionally a drywall screw or adhesive mounting strip if you plan to wall-mount. Avoid placing the sensor near drafts from windows or doors, direct sunlight, humidity sources like bathrooms, or within three feet of exterior walls. Radon measurement accuracy depends on still, representative air. For best results, keep the unit in a room you use regularly, such as a living area or bedroom, at least 20 inches above the floor.
If your home has a crawlspace, consider placing the Wave Plus on a shelf or table at breathing height (roughly 3–5 feet off the floor). The device’s internal sensors sample air every hour, so give it 24–48 hours to stabilise after power-on. Do not move it frequently; stability over days and weeks yields the most actionable data.
For more on the device’s overall performance, read the full Airthings Wave Plus Review: Accurate and Easy Radon Monitoring.
What Is the Step-by-Step Installation Process for the Airthings Wave Plus?
Step 1: Insert the Batteries
Remove the magnetic back cover (twist it counterclockwise). Insert three AA batteries following the polarity markings inside the compartment. The LED ring will flash green once to confirm power. Use high-quality batteries to maximise life; standard alkaline batteries may need replacement every 6–9 months, while lithium cells can last up to 12–14 months under typical use. For battery care, see the Airthings Wave Plus Battery Life and Maintenance Tips guide.
Step 2: Download the App and Pair
Install the free Airthings Wave app (iOS or Android). Open the app, create an account, and tap “Add Device.” Follow the on-screen prompts—you will need to bring your phone near the sensor (within 10 feet) and press the button on the side of the Wave Plus. The app uses Bluetooth to connect. Pairing usually takes under 30 seconds.
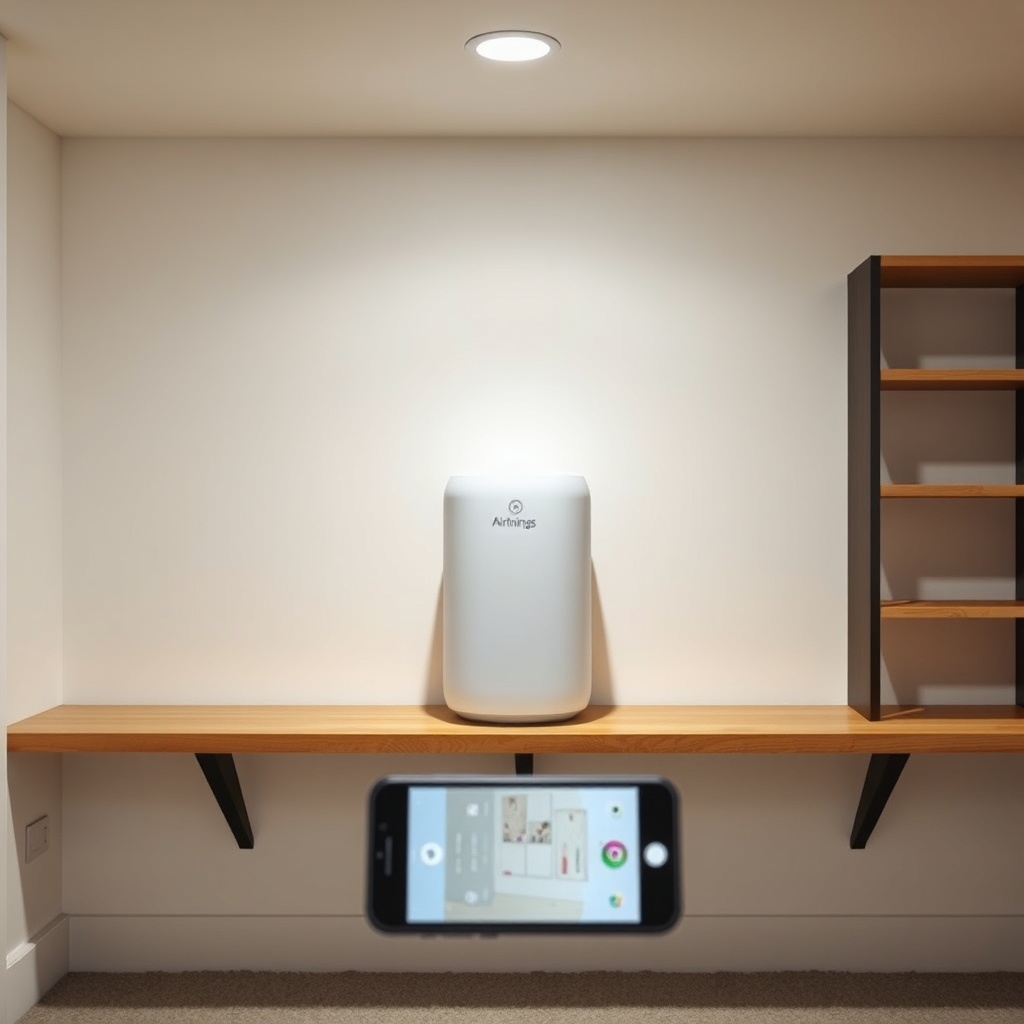
Step 3: Mount or Place the Unit
Decide between tabletop placement (simply stand it on a stable surface) or wall-mounting. For wall-mounting, use the included mounting bracket. Mark two screw holes 60 mm apart, drill pilot holes, and insert drywall anchors if needed. Screw the bracket in place, then snap the Wave Plus onto it magnetically. Ensure the device is level and the vent slots on the side are unobstructed.
Step 4: Initial Calibration
After placement, the sensors need a burn-in period. The radon sensor will read “Calibrating” in the app for 24 hours. After that, the first reliable radon reading appears. For total volatile organic compounds (TVOCs) and humidity, readings stabilise within 2 hours. The device requires no further interaction.
Step 5: Enable WiFi (Optional)
For dashboard access and remote monitoring, connect to your home WiFi via the app. Enter your network password, and the Wave Plus will link via Bluetooth bridge (the smartphone). Once set, data syncs to the cloud automatically every 2 hours. This step is not required for basic use but strongly recommended for long-term trend analysis.

Where Is the Best Location to Install the Airthings Wave Plus in Your Home?
Radon concentration varies by floor, room use, and ventilation. The Airthings Wave Plus measures radon, TVOCs, PM2.5, CO2, temperature, humidity, and air pressure—so its placement affects all these parameters. Follow these location guidelines for each of the most common home types.
For Houses with a Basement
- Place the sensor in the basement, at least 20 inches from the floor, on a shelf or table.
- Avoid areas directly above sump pumps, floor drains, or dirt-floor crawl spaces (if present).
- Ideal: a finished basement living space where you spend time.
For Slab-on-Grade Homes
- Install on the ground floor, preferably in a bedroom or living room closest to the earth.
- Keep away from sliding glass doors or perimeter walls with high air leakage.
- Do not place in a garage or unfinished storage area—those spaces have different air exchange rates.
For Multi-Storey Homes
- The best practice is to measure the lowest occupied floor. If you sleep on the second floor but have a basement rec room, test the basement as well.
- For families, consider a second Airthings Wave Plus for the main living floor to get a complete picture.
What Are the Common Installation Mistakes Homeowners Should Avoid?
Even experienced DIYers can miss subtle details that compromise sensor accuracy. Here is a severity guide for the most frequent errors we see.
| Installation Mistake | Severity Level |
|---|---|
| Placing near HVAC supply vents or radiators | Usually not urgent (small effect) |
| Mounting below 6 inches from floor | Needs attention soon |
| Placing in a closet or behind furniture | Needs attention soon |
| Installing within 3 feet of an exterior door/window | Usually not urgent (minor draft effect) |
| Using rechargeable batteries in the unit | Needs attention soon (rechargeable batteries have lower voltage, causing reduced sensor accuracy and unexpected shutdowns) |
| Moving the sensor daily | Needs attention soon (prevents long-term average formation) |
| Battery replacement with unit still paired | Usually not urgent (device retains settings for 5 minutes) |
Always use fresh, high-quality alkaline or lithium batteries. Avoid NiMH rechargeables—they output 1.2V instead of 1.5V, which can cause the device to shut down prematurely or log erratic data. If you must use rechargeables, select lithium-ion AA cells (1.5V constant voltage).
How Do You Test the Installation to Ensure It’s Working Correctly?
Verify Connectivity
After 24 hours, open the Airthings Wave app. You should see a radon reading—even if it’s 0.5 pCi/L or lower, a number confirms the sensor is operational. The LED ring will glow green for good air, yellow for moderate, and red for poor. If the ring remains dark, press the side button; if nothing happens, the batteries may be inserted incorrectly.
Check Sensor Data
- Radon: should display a 24-hour average and long-term average.
- TVOC: typical range 0–500 ppb in healthy homes.
- CO2: outdoor baseline ~400 ppm, indoor comfortable <1000 ppm.
- Temperature and humidity: should reflect room conditions.
Common Troubleshooting Steps
- If the app does not detect the device: Bring the phone within 3 feet, close the app, and reopen it.
- If the LED ring does not respond: Remove and reinsert batteries, ensuring firm contact.
- If the radon reading stays at “Calibrating” beyond 48 hours: Contact Airthings support; this may indicate a faulty sensor.
What Do Owners Say About Installing the Airthings Wave Plus?
Homeowners who have installed the Airthings Wave Plus share consistent experiences. Many mention that the initial Bluetooth pairing is simple but that the WiFi setup requires a second device (a phone) to act as a bridge—this can be confusing for non-tech-savvy users. One owner noted, “I mounted mine in the basement utility room, but then moved it to the rec room because the TVOC readings were useless next to the paint cans.”
Another common observation is the 24-hour radon calibration period. Some buyers expected immediate readings and were momentarily disappointed. One user said, “After the first day, the numbers made sense. I wish the instructions explained the wait better.” Several owners recommend buying a second unit for multi-level homes, especially if you compare radon monitors like in our Airthings Wave Plus vs EcoSense: Which Radon Monitor to Pick? article.
Frequently Asked Questions About Installing the Airthings Wave Plus
Can I install the Airthings Wave Plus in a bathroom?
No. High humidity and steam from showers can damage the sensors and skew readings. Keep the unit in a dry room with stable conditions.
How long does it take to get an accurate radon reading?
Allow 24 hours for the first calibrated reading. For a reliable long-term average, wait at least 7 days. Radon levels fluctuate daily.
Do I need to install the Wave Plus on a wall?
Wall mounting is optional. Tabletop or shelf placement works equally well, as long as the unit is at least 20 inches from the floor and not obstructed.
Will the Airthings Wave Plus work without WiFi?
Yes. The device operates fully via Bluetooth to your phone. WiFi is only needed for cloud data syncing and remote monitoring from anywhere.
Can I use rechargeable batteries in the Wave Plus?
We strongly advise against standard NiMH rechargeables (1.2V). Use lithium or high-quality alkaline AA batteries (1.5V) for best reliability and sensor accuracy.
What do I do if the LED ring stays off after inserting batteries?
Check battery orientation. If correct, press the side button. If still no light, remove batteries for 10 seconds, then reinsert. Contact support if the problem persists.