Why Are Venting and Piping Options Critical for the Fantech RN1 Fan?
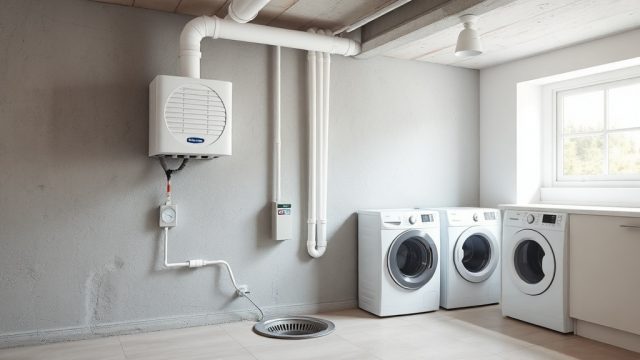
Choosing the correct venting and piping configuration for the Fantech RN1 Radon Fan is essential for maximizing system efficiency and ensuring long-term reliability. The fan’s performance directly depends on how well the piping system minimizes static pressure loss and prevents condensation or backflow issues. In regions like the United States and Canada, improper venting can reduce radon mitigation effectiveness by up to 30%, leading to higher indoor radon levels and increased health risks.
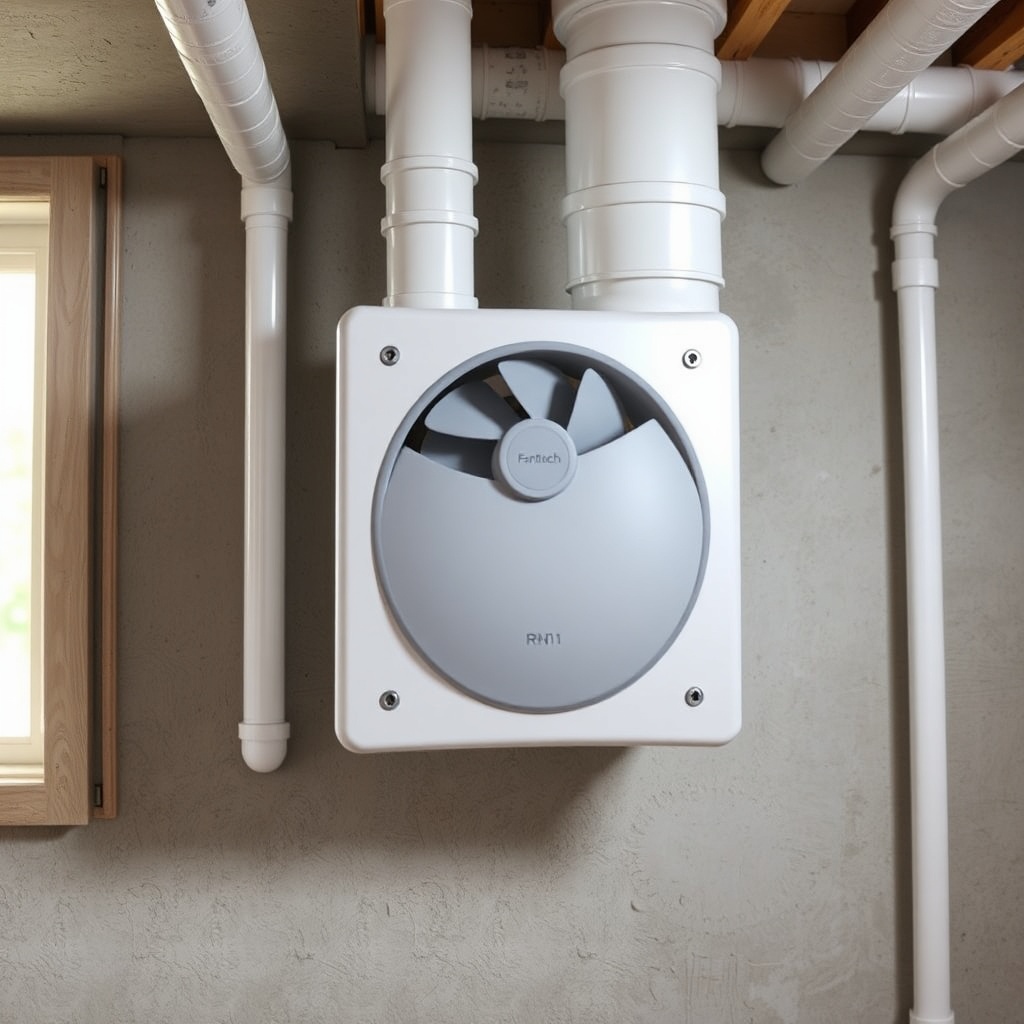
The Fantech RN1, a 4-inch in-line fan designed for residential radon mitigation, requires specific piping materials, diameters, and routing to achieve its rated airflow of 120 CFM at 0.2 inches of water column static pressure. This article details the optimal venting and piping options, focusing on material choices, slope requirements, and common pitfalls to avoid—all based on industry standards and field-tested practices.
What Is the Ideal Pipe Diameter and Material for the Fantech RN1?
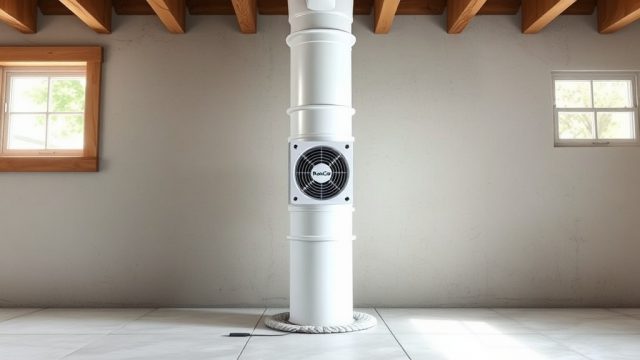
The Fantech RN1 fan comes with a standard 4-inch inlet and outlet, making 4-inch Schedule 40 PVC the industry-preferred choice for both suction and discharge piping. While 3-inch pipe can be used in tight retrofits, it significantly increases static pressure loss: at 120 CFM, 4-inch pipe has approximately 0.08 inches of water column loss per 100 feet, whereas 3-inch pipe loses about 0.35 inches per 100 feet—over four times greater. For most residential systems, 4-inch pipe is mandatory to maintain fan efficiency and reduce motor wear.
ABS and high-density polyethylene (HDPE) are acceptable alternatives, but PVC is favored for its UV resistance (if exposed outdoors), chemical resistance to soil gases, and lower cost. Always use solvent-welded joints with primer and cement rated for radon gas applications to prevent leaks. Flexible aluminum ducting is not recommended for permanent installations because its corrugated interior increases friction and traps moisture, leading to corrosion and reduced airflow.
| Material | Cost per 10 ft (USD) | Friction Loss (in. WC per 100 ft at 120 CFM) | Durability | Best Use |
|---|---|---|---|---|
| Schedule 40 PVC (4″) | $12–$18 | 0.08 | Excellent (50+ years) | Primary choice; underground and aboveground |
| Schedule 40 ABS (4″) | $14–$20 | 0.09 | Good (30+ years) | Alternative to PVC; less UV stable |
| HDPE (4″) | $20–$30 | 0.07 | Excellent (flexible, leak-resistant) | Slab penetrations; tight curves |
| 3-inch PVC | $8–$12 | 0.35 | Good | Only short runs (<15 ft); not recommended |
| Flexible aluminum | $10–$15 | 0.50–0.70 | Poor (corrosion, punctures) | Never use for permanent systems |
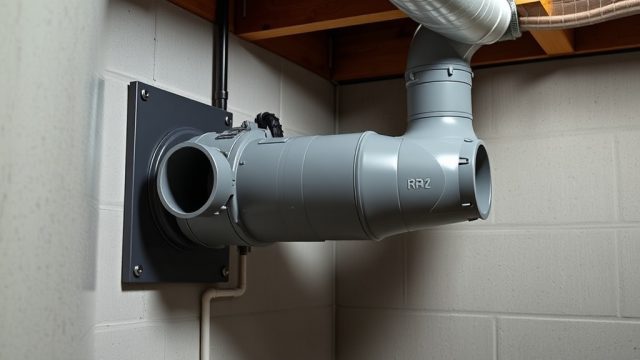
When connecting the fan, use a Fernco or similar elastomeric coupling at the fan inlet to absorb vibration and allow for thermal expansion. For rigid connections, install a union or slip coupling to simplify future Fantech RN1 troubleshooting.
How Should the Exhaust and Intake Piping Be Routed?
Routing the piping correctly is more complex than just connecting the fan. The suction side (from the sub-slab collection point to the fan inlet) must maintain a continuous upward slope of at least 1/4 inch per linear foot to ensure that any condensation inside the pipe drains downward toward the slab, not toward the fan. Conversely, the discharge side (from fan outlet to exterior termination) must slope downward away from the fan to prevent rain, snow, or birds from entering the system. Minimum slope here is also 1/4 inch per foot, but steeper slopes (up to 1 inch per foot) are better in cold climates.
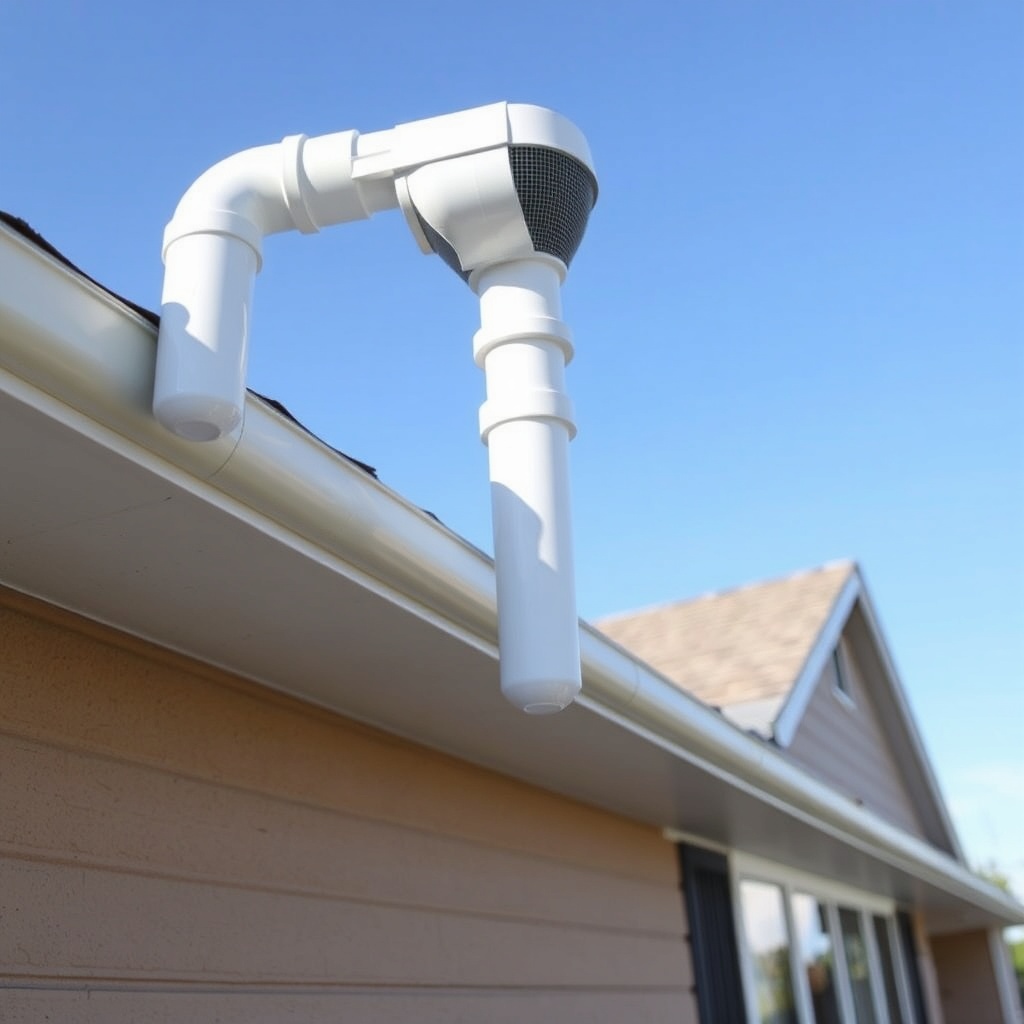
For the exhaust termination, the pipe must extend at least 12 inches above the roofline and be at least 10 feet horizontally from any window, door, or operable opening to prevent radon re-entry. In some jurisdictions, local building codes require a minimum of 12 inches above the eaves. Use a screened termination cap to keep out pests, but avoid caps with internal baffles that restrict airflow, as they reduce the fan’s effective discharge rate. Additionally, install a condensation drain (like a T-fitting with a cleanout plug and a small hole) on the discharge side of the fan, near the lowest point of the horizontal run. This allows accumulated moisture to drip out rather than collect in the fan housing, which can cause bearing failure over time.
If the piping must run through an unconditioned area (e.g., attic), insulate the entire discharge line with closed-cell foam insulation (R-6 minimum) to prevent freezing and condensation damage. The Fantech RN1 is rated for ambient temperatures from -20°F to 140°F, but sustained freezing of condensate inside the pipe can block airflow. For extreme cold, consider a Fantech RN1 safety tip: install a heat tape with a thermostat on the first 3 feet of the exterior discharge pipe.
What Are the Consequences of Excessive Backpressure or Leaks?
Backpressure occurs when the piping system is too restrictive—usually due to undersized pipe (3-inch), too many elbows (each 90-degree elbow adds the equivalent of 10-15 feet of straight pipe), or long horizontal runs without adequate slope. For the Fantech RN1, static pressure should not exceed 1.0 inches of water column at the fan inlet. If pressure exceeds this, the fan’s motor will run hotter, lifespan will drop from an expected 15–20 years to possibly 5–7 years, and radon reduction efficiency may fall below 50%. Symptoms include excessive noise (a high-pitched whine), vibration, and the fan cycling on/off due to thermal overload protection.
Leaks are equally damaging. Even a 1/8-inch hole in the suction side of the pipe can allow soil gas to escape into the basement before it reaches the fan. Use a manometer to measure vacuum pressure at the farthest point from the fan: a reading above 0.5 inches WC indicates a good seal; below 0.2 inches WC suggests a major leak. Common leak locations include poorly glued joints, unsealed test holes, and cracked pipe hangers. To diagnose, perform a smoke test or use soapy water on all joints while the fan is running. Address any bubbles immediately with primer and cement—do not rely on tape or caulk.
What Are the Best Practices for Connecting Multiple Suction Points?
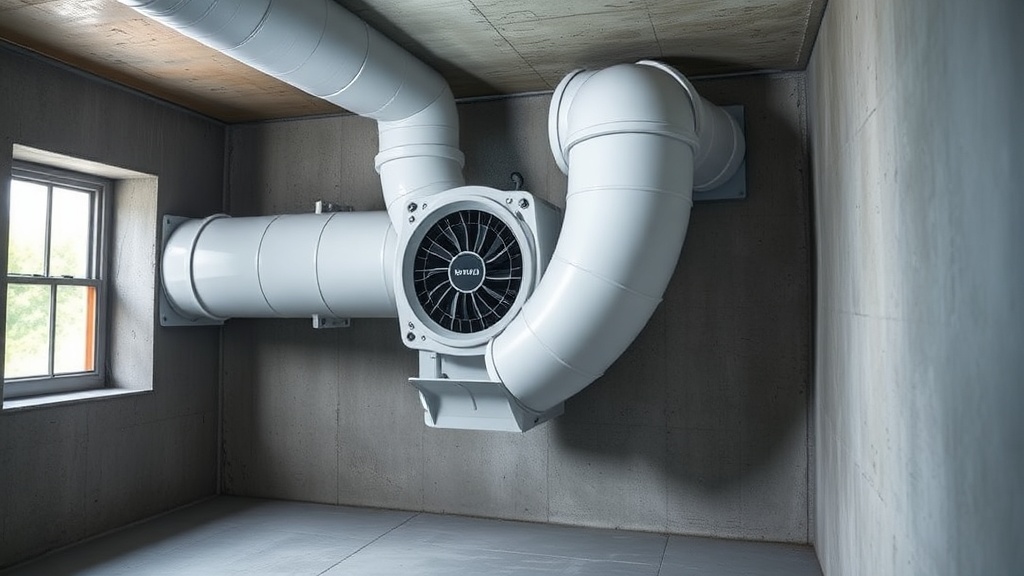
In larger homes or those with multiple sub-slab zones (e.g., a basement and a crawl space), you may need to connect two or more collection pipes to a single Fantech RN1. The optimal method is to use a manifold or Y-connection with balancing dampers on each branch. This ensures even airflow distribution and prevents one zone from starving the other. Each branch pipe must be individually sized for its flow rate—typically 4-inch for each branch if runs exceed 20 feet—and the combined flow should not exceed the fan’s capacity of 120 CFM. If total flow requirement exceeds this, consider a larger fan or a multi-fan system.
When joining multiple lines, maintain a minimum of 3 feet of straight pipe upstream of the manifold to stabilize flow. Install a cleanout plug on each branch for future access. For zoned systems, use butterfly valves (or gate valves) on each branch to balance pressure, but ensure they are fully open during initial testing. After balancing, lock the valves and mark their positions. Finally, include a condensation drain on the manifold’s lowest point—water pooling in the manifold can cause mold growth and reduce airflow by up to 10% per year.
How Does Climate Affect Piping Material and Insulation Choices?
Climate is a major determinant of piping material and insulation choices. In warm, humid climates (e.g., southern U.S.), the primary concern is condensation inside the pipe. Warm, moist air entering the suction side can create dew inside the pipe, leading to moisture buildup and potential mold. Here, pre-insulated PVC pipe (with closed-cell foam) or an internal condensation wick is advisable. Also, a deeper gravel bed under the slab reduces moisture migration into the pipe.
In cold climates (e.g., northern U.S., Canada), the biggest risks are freezing condensate and frost heave. The entire discharge pipe must be insulated with at least R-8 rated foam pipe insulation, and the exterior vertical run should be heat-traced if temperatures remain below -10°F for more than 24 hours. The Fantech RN1 fan itself should be housed indoors (preferably in a basement or mechanical room) to avoid cold air entering the motor housing, which can cause condensation inside the fan. If an attic installation is unavoidable, build an insulated enclosure around the fan and use a 4-inch mitered elbow (instead of a standard 90-degree) to reduce airflow resistance in tight spaces.
For an in-depth look at installation steps, see the How to Install Fantech RN1 Radon Fan: Step-by-Step Guide.
What Owners Say About Their Fantech RN1 Venting Choices
Homeowners using the Fantech RN1 consistently praise its quiet operation and reliability, but many share important lessons about piping. “I used 3-inch pipe because it was cheaper, but after a year, my radon levels were still high—around 6 pCi/L. Switching to 4-inch PVC dropped it to 2.2,” says John from Ohio. Others note that installing a condensation drain is a must: “I didn’t put one in, and after one winter, the fan started making a gurgling sound. A T-fitting with a drain fixed it immediately,” writes Maria, a DIY installer in Minnesota.
Several owners highlight that proper slope is non-negotiable. “My horizontal run was nearly flat. After re-piping with a 1/2-inch-per-foot slope, the fan ran quieter and the radon reading went from 4.5 to 1.8,” reports Mike in Pennsylvania. The consensus is that investing in quality PVC, proper slope, and a condensation drain pays off in lower radon levels and longer fan life. For more real-world experiences, check the Fantech RN1 Radon Fan Review.
Frequently Asked Questions
1. Can I use 3-inch pipe for a short run with the Fantech RN1?
Yes, but only for runs less than 15 feet and with minimal elbows. Longer runs or multiple bends will increase static pressure beyond the fan’s optimal range, reducing efficiency. For best results, always use 4-inch pipe.
2. Do I need a condensation drain on both sides of the fan?
No, only on the discharge side (after the fan) is required. The suction side naturally drains condensation back into the sub-slab gravel. However, if the suction pipe has a long horizontal run, a drain may be helpful.
3. What type of termination cap should I use?
Use a screened cap that allows unrestricted airflow—avoid caps with internal baffles. Baffles can cause backpressure and reduce discharge velocity. A simple plastic or metal cap with a bird screen works well.
4. How often should I inspect the piping for leaks?
Annually, using a manometer to check vacuum pressure at the fan inlet and at the farthest suction point. Also, visually inspect joints for cracks or seal failures after extreme weather events.
5. Is flexible ducting ever acceptable for temporary setups?
For temporary mitigation during remediation work, flexible ducting can be used, but only if it is smooth-walled and airtight. Permanently, it is not recommended due to friction loss and moisture trapping.
6. Can I run the piping vertically straight up from the fan?
Yes, but ensure the vertical rise is at least 18 inches before any horizontal turn to prevent condensation from dripping back into the fan. A short vertical section helps establish proper airflow direction.
For further guidance on common issues, refer to the Fantech RN1 Troubleshooting: Common Problems and Fixes.