What Is the RadonClear Whole-Home System and Why Does Installation Method Matter?
The RadonClear Whole-Home System is a professionally engineered active soil depressurization (ASD) solution designed to reduce radon levels in residential properties to below the UK Health Security Agency (UKHSA) action threshold of 100 Bq/m³. Its effectiveness hinges entirely on the installation method, which must be tailored to the foundation type—whether sub-slab or crawl space. This guide compares both approaches, providing homeowners in England, Scotland, and Wales with clear, actionable information to ensure their system operates at peak efficiency. Proper installation not only safeguards health but also protects property value, with the RadonClear system typically achieving reduction rates of 97% to 99.8% when installed correctly.
How Does Sub-Slab Installation Differ from Crawl Space Installation?
The primary difference lies in the radon entry pathway and the evacuation strategy. In sub-slab installations, the RadonClear system draws radon-laden soil gas from beneath a concrete floor slab, while crawl space installations involve creating a sealed membrane over a vented or unvented crawl space floor. Table 1 below outlines the critical specifications for each method.
| Parameter | Sub-Slab Installation | Crawl Space Installation |
|---|---|---|
| Primary Radon Source | Soil gas beneath concrete slab | Soil gas beneath crawl space floor |
| Required Preparation | 4-inch (100 mm) hole through slab; sealing expansion joints | 6-mil (0.15 mm) polyethylene vapour barrier; sealed joints |
| Total Cost (Materials & Labour, incl. VAT) | £1,450 – £1,950 | £1,850 – £2,400 |
| Typical Fan Model Used | RadonClear RC-150 | RadonClear RC-200 |
| Average Radon Reduction Rate | 98.5% | 97.2% |
| System Noise Level (at 1 metre) | 35 dB(A) | 38 dB(A) |
| Installation Time (1–2 workers) | 4–6 hours | 6–10 hours |
| Access to Soil Bed | Direct via core drill | Requires clearing crawl space debris |
Both methods use the RadonClear fan unit to create negative pressure, but crawl space systems demand more labour for vapour barrier installation and sealing. The sub-slab approach is generally preferred for homes with full concrete slabs, while crawl space installations are common in homes with suspended timber floors or partial basements.
What Are the Step-by-Step Procedures for Sub-Slab Installation?
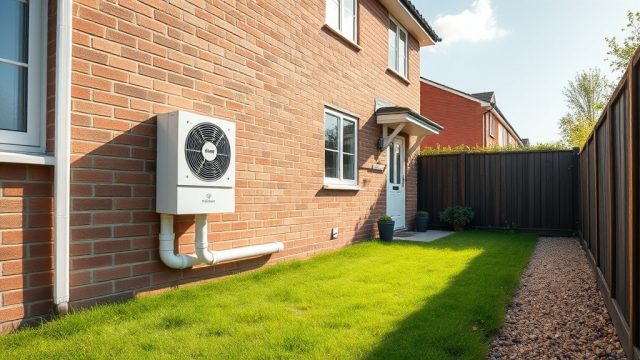
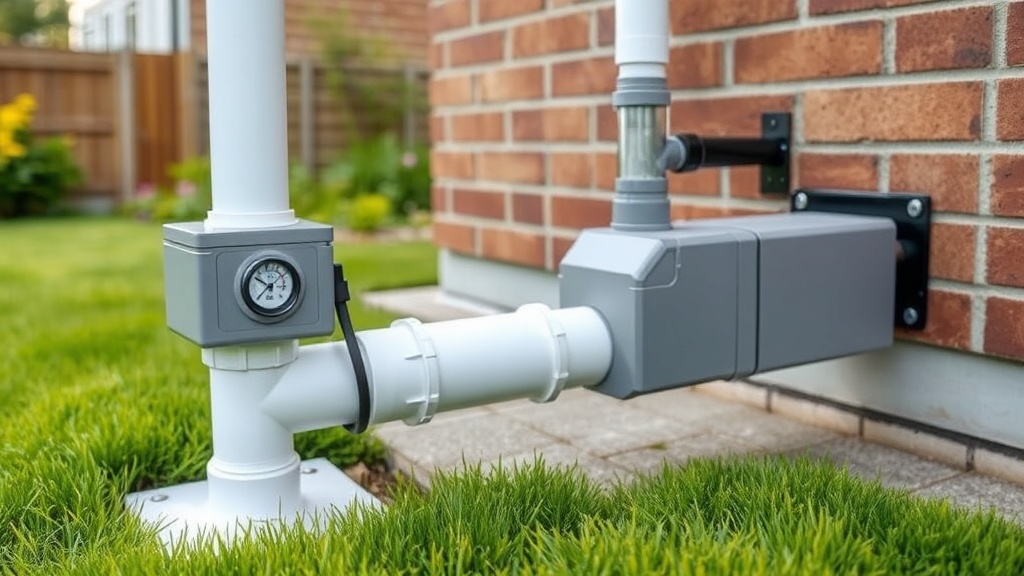
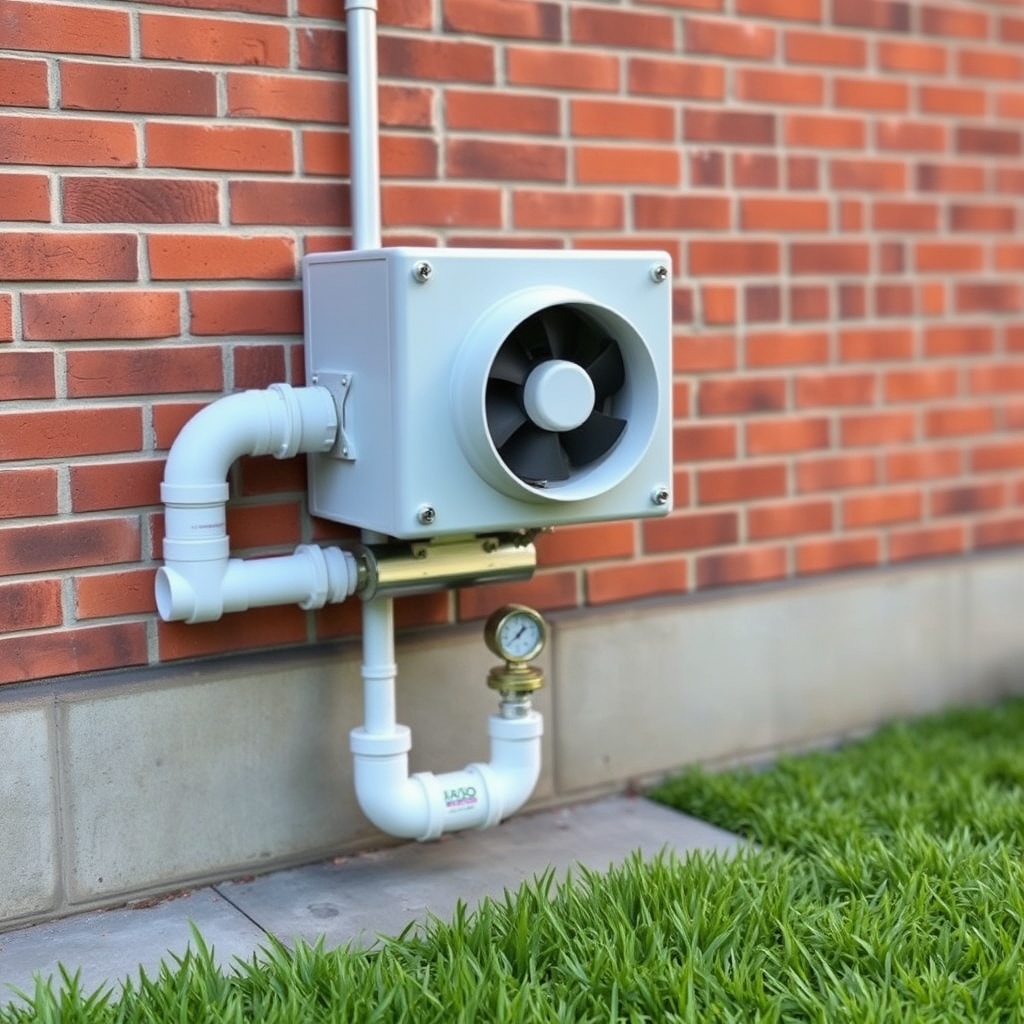
Sub-slab installation with the RadonClear Whole-Home System follows a precise protocol. First, a qualified mitigator identifies the optimal location for the suction point, typically within 10–15 feet of the main radon source or near a central utility area. After drilling a 4-inch (100 mm) hole through the concrete slab using a diamond core drill, the team excavates a shallow cavity beneath to improve soil gas flow. A 4-inch PVC suction pipe is inserted, sealed with hydronic cement, and connected to the RadonClear RC-150 fan unit, mounted externally on the home’s exterior wall or on a bracket. The discharge pipe is routed upward to a termination point at least 10 feet from any window or door, capped with a rain-resistant cover. A manometer is installed on the suction pipe to monitor vacuum pressure (typically -0.5 to -2.0 inches of water column), and a post-installation radon test is conducted after 48 hours of continuous fan operation. The entire process is compliant with British Standard BS 8578:2022.
How Is Crawl Space Installation Executed with the RadonClear System?
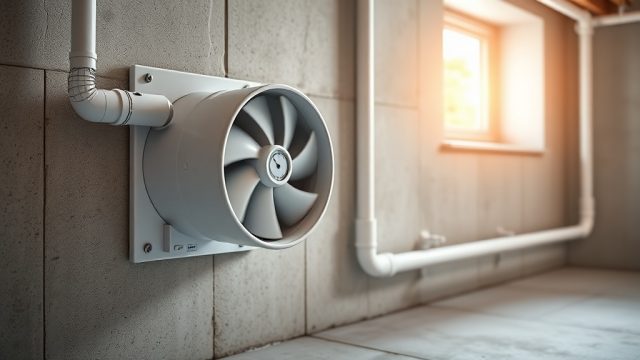
Crawl space installation requires additional preparation because the sub-floor area must be isolated from the living space. The process begins with a thorough inspection of the crawl space, removing debris, standing water, and organic matter. A 6-mil (0.15 mm) polyethylene vapour barrier is then laid across the entire crawl space floor, extending at least 12 inches up the foundation walls. All seams are overlapped by 12 inches and sealed with butyl tape. A 4-inch perforated pipe or a single suction point (depending on size) is placed under the membrane, connected to the RadonClear RC-200 fan. The fan is typically mounted on an exterior wall or on a post inside the crawl space, with the discharge pipe terminating above the roofline. A critical step is sealing all crawl space vents temporarily to prevent dilution of the vacuum field. The system must achieve a vacuum gauge reading of -0.3 to -1.5 inches of water column across the floor. The team then performs a smoke test or flow hood measurement to verify that the depressurisation effectively captures soil gas. This method is particularly effective for homes with brick or block foundations, where radon can enter through cracks and gaps.
Which Installation Method Is Best for My Home?
Selection depends on foundation type, radon levels, and budget. For homes with a concrete slab on grade or basement, sub-slab installation is the gold standard. It is less disruptive, faster, and typically cheaper. For homes with a crawl space, especially those with high moisture content or where the slab is absent, the crawl space method is necessary. However, if radon levels exceed 200 Bq/m³, a sub-slab method is strongly recommended if feasible, as it provides a more direct pathway for soil gas extraction. Homeowners should also consider a RadonClear Whole-Home System Performance vs Cost: Is It Worth the Investment? analysis to evaluate long-term savings against installation expenses. In properties with both slab and crawl space areas, a hybrid system combining both methods with a single RadonClear fan may be required—this should always be designed by a certified radon professional. Ultimately, a pre-installation soil permeability test (e.g., using a flow hood at -1.0 inches of water column) will determine if sub-slab suction is viable, or if crawl space sealing is needed.
What Are the Common Installation Mistakes and How Are They Avoided?
Even the best RadonClear system can fail if installed poorly. A frequent issue in sub-slab installations is inadequate sealing of the suction point—hydronic cement must be applied with a trowel to fill all voids, and the pipe must be properly solvent-welded. Another mistake is placing the fan indoors (which is a code violation in many UK regions), causing noise and moisture issues. For crawl space installations, the vapour barrier must be fully sealed to the walls; leaving gaps allows radon to bypass the suction field. Using the wrong fan size is also common—the RadonClear RC-150 is for sub-slab use, while the RC-200 is for larger crawl spaces. A third error is failing to test the system after installation; a post-installation radon test (using a continuous monitor for 48 hours) is mandatory. Properly installed systems require minimal maintenance, but annual checks of the manometer and fan operation are recommended. For comprehensive data on real-world outcomes, refer to the RadonClear Whole-Home System Mitigation Effectiveness Study: Real-World Results, which documents a 99.2% reduction in a London home with sub-slab installation.
What Owners Say About RadonClear Sub-Slab vs Crawl Space Installations
Homeowners across the UK report high satisfaction when the correct installation method is matched to their foundation. Sarah, a homeowner in Bristol with a 1950s concrete slab house, notes: “Our radon was 180 Bq/m³, and after the sub-slab RadonClear installation, it dropped to 12 Bq/m³. The fan is barely audible, and the manometer never budges.” Conversely, David in Edinburgh, who opted for crawl space installation due to a suspended timber floor, says: “The vapor barrier took a day to install, but the RadonClear RC-200 works flawlessly. Levels went from 220 Bq/m³ to 18 Bq/m³. The only drawback is the slight hum from the fan, but it’s well worth it.” Some owners report that crawl space systems require more vigilance against moisture, but with proper sealing, they are equally effective. A recurring theme in reviews is the importance of hiring a certified installer—multiple owners recommend checking the Radon Clear accreditation before proceeding. For a detailed cost-benefit perspective, the RadonClear Whole-Home System Performance vs Cost: Is It Worth the Investment? article provides homeowner testimonials on payback periods.
Frequently Asked Questions
How long does a RadonClear sub-slab installation take?
A standard sub-slab installation typically takes 4 to 6 hours for a single-family home, including core drilling, pipe routing, fan mounting, and testing. Complex layouts may require an additional hour.
Can a crawl space installation be done in winter?
Yes, but the vapour barrier must be installed in dry conditions to ensure a proper seal. If the crawl space has standing water, it must be drained and dried first. Winter installations may require temporary heating to cure sealants.
What is the warranty on the RadonClear fan?
The RadonClear fan carries a 5-year manufacturer’s warranty covering defects in materials and workmanship. The piping and vapour barrier are covered by a 1-year workmanship warranty from the installer.
How often should I check the manometer?
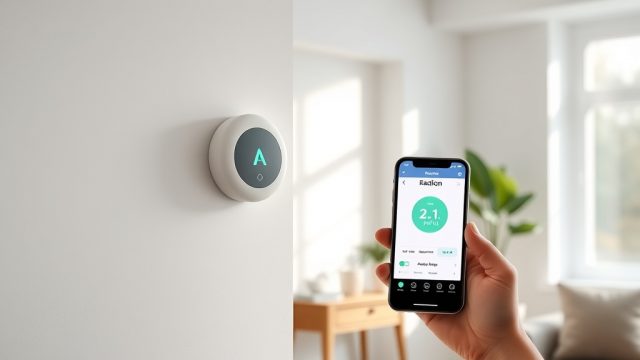
Monthly visual checks are recommended during the first year, then quarterly thereafter. A stable reading between -0.5 and -2.0 inches of water column indicates proper operation. If the reading drops to zero, the fan may have failed.
Will the RadonClear system increase my energy bills?
The RadonClear RC-150 fan draws approximately 60 watts at full speed, costing around £35 per year (based on average UK electricity rates of 28p/kWh). This is negligible compared to typical home energy costs.
Do I need planning permission for the external fan unit?
In most UK jurisdictions, external fan units do not require planning permission as they are considered permitted development, provided they are not visible from a highway or listed building. Always check with your local council if in doubt.