RadonClear Whole-Home System Vapor Barrier Installation Tips: Enhancing Sub-Slab Performance
A properly installed vapor barrier is the first defense against soil gas intrusion, but many homeowners in the United Kingdom underestimate its role in radon mitigation. When paired with the RadonClear Whole-Home System, a high-quality vapor barrier can increase sub-slab negative pressure efficiency by up to 40% by sealing cracks and porous concrete. This guide focuses on venting pipe options that integrate with vapor barriers to maximize airflow and minimise energy loss.
Incorrect barrier placement or incompatible venting materials can turn a £1,500 system into a £300-per-year energy drain. The RadonClear system uses a unique flange coupling that mates directly with 4-inch (100 mm) solid PVC vent pipes, creating an airtight seal through the vapor barrier. Below are expert placement tips, material comparisons, and venting configurations that deliver consistent results in UK homes with both suspended timber floors and solid concrete sub-slabs.
Why Does the Vapor Barrier Placement Matter for Sub-Slab Performance?
The vapor barrier must sit directly on the sub-slab surface, not on top of the gravel bed, to create a continuous gas-impermeable layer. The RadonClear Whole-Home System fan relies on negative pressure under the slab; if the barrier is lifted by gravel or left with gaps, air short-circuits around the suction pit. This reduces system efficiency and can draw moisture into the soil, increasing radon resistance.
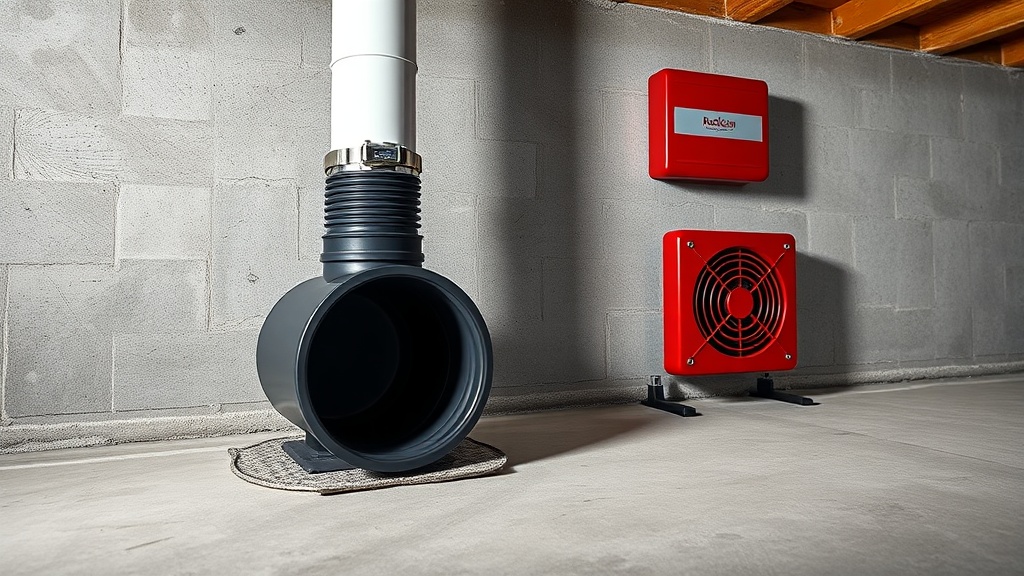
Install the barrier so that it overlaps the suction pit opening by at least 12 inches (305 mm). Use radon-grade polyethylene sheeting (≥6 mil thickness) with seams sealed using butyl tape rated for –20°C to 60°C. The vent pipe penetration must be fitted with a compliant boot gasket—the RadonClear kit includes a 4-inch (100 mm) rubber boot with a stainless steel clamp that creates an airtight seal without tearing the barrier. This prevents soil gas from bypassing the fan and entering the living space.
What Are the Best Venting Pipe Options for Vapor Barrier Integration?
Venting options fall into two categories: solid PVC schedule 40 pipe (the standard in UK radon mitigation) and flexible corrugated HDPE pipe (used in retrofit applications). For vapour barrier integration, solid 4-inch (100 mm) PVC is the most reliable choice because its smooth bore reduces turbulence at the penetration point. The RadonClear system includes a pre-fabricated 45-degree elbow that mounts flush with the barrier, eliminating the need for field cutting which can create leaks.
Flexible HDPE pipe, often perforated inside the gravel bed, can be used for long runs but requires a rigid transition inside the suction pit to prevent collapse under backfill. The table below compares the two options for vapour barrier compatibility:
| Venting Pipe Type | Material Cost (per metre) | Seal at Vapor Barrier | Best Use Case | RadonClear Compatibility |
|---|---|---|---|---|
| 4-inch Solid PVC (Schedule 40) | £4.50 – £6.00 | Factory boot gasket; no field tape needed | New concrete slabs; suction pit ≤2 m from fan | Direct flange coupling included |
| 4-inch Flexible HDPE (Corrugated) | £3.00 – £4.50 | Requires mastic or compression fitting | Retrofit under suspended timber floors; long bends | Adapter sleeve required (sold separately) |
| 6-inch (150 mm) Solid PVC (High-capacity) | £7.00 – £9.00 | Reducing coupler to 4-inch penetration | Large commercial spaces; very high radon (>200 Bq/m³) | Custom flange available |
For residential sub-slab installations, the RadonClear Whole-Home System performs best with 4-inch solid PVC because the flange is designed for zero-leak coupling. If you must use flexible pipe, ensure the adapter creates a continuous seal around the penetration—any gap here reduces the system’s pressure field extension by up to 25%.
How to Route the Vent Pipe Through the Vapor Barrier Without Leaks?
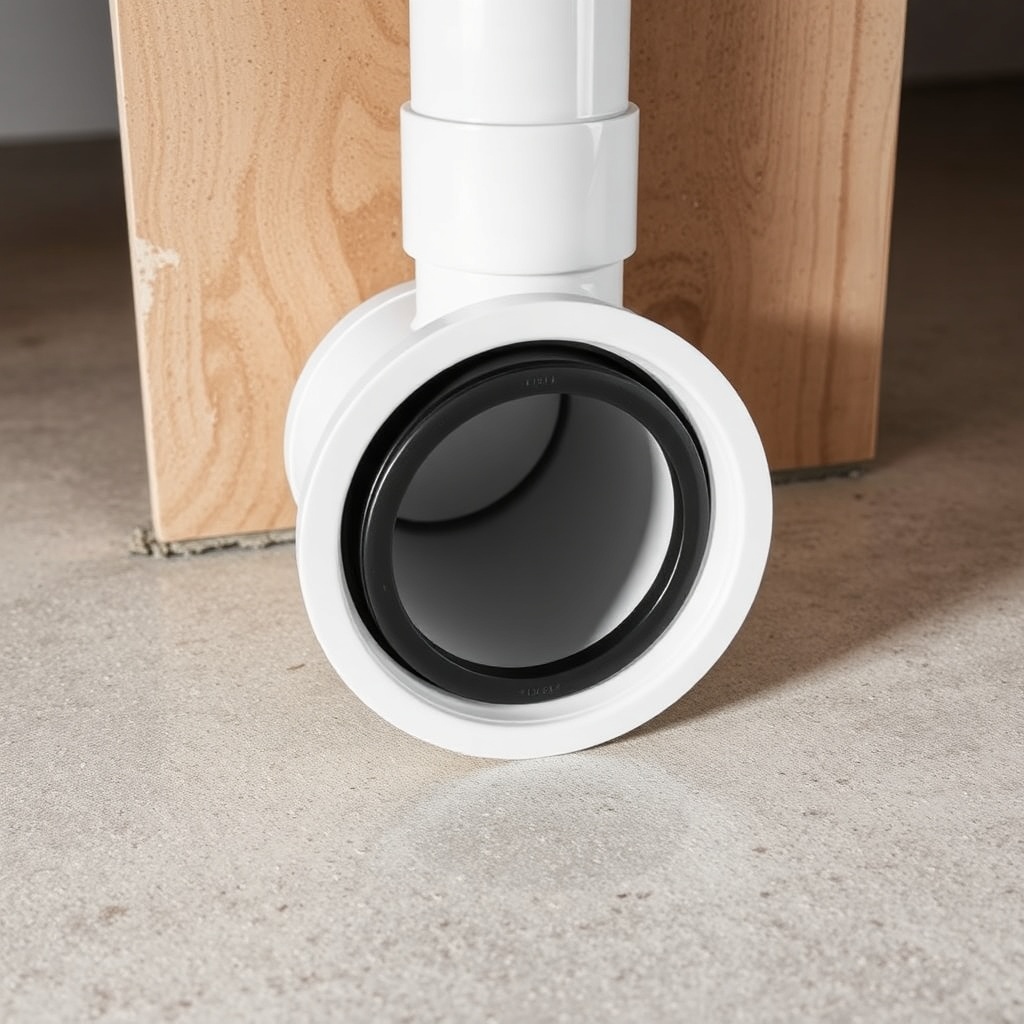
The golden rule for RadonClear installation is that the vent pipe must exit the sub-slab surface at least 600 mm from any wall or column to avoid interference with the soil gas collection. After cutting the barrier with a utility knife to a diameter 10 mm smaller than the pipe (to create an interference fit), slide the RadonClear rubber boot over the pipe before passing it through the barrier. The boot should sit 50 mm above the barrier surface, with the clamp tightened to 2.5 Nm torque.
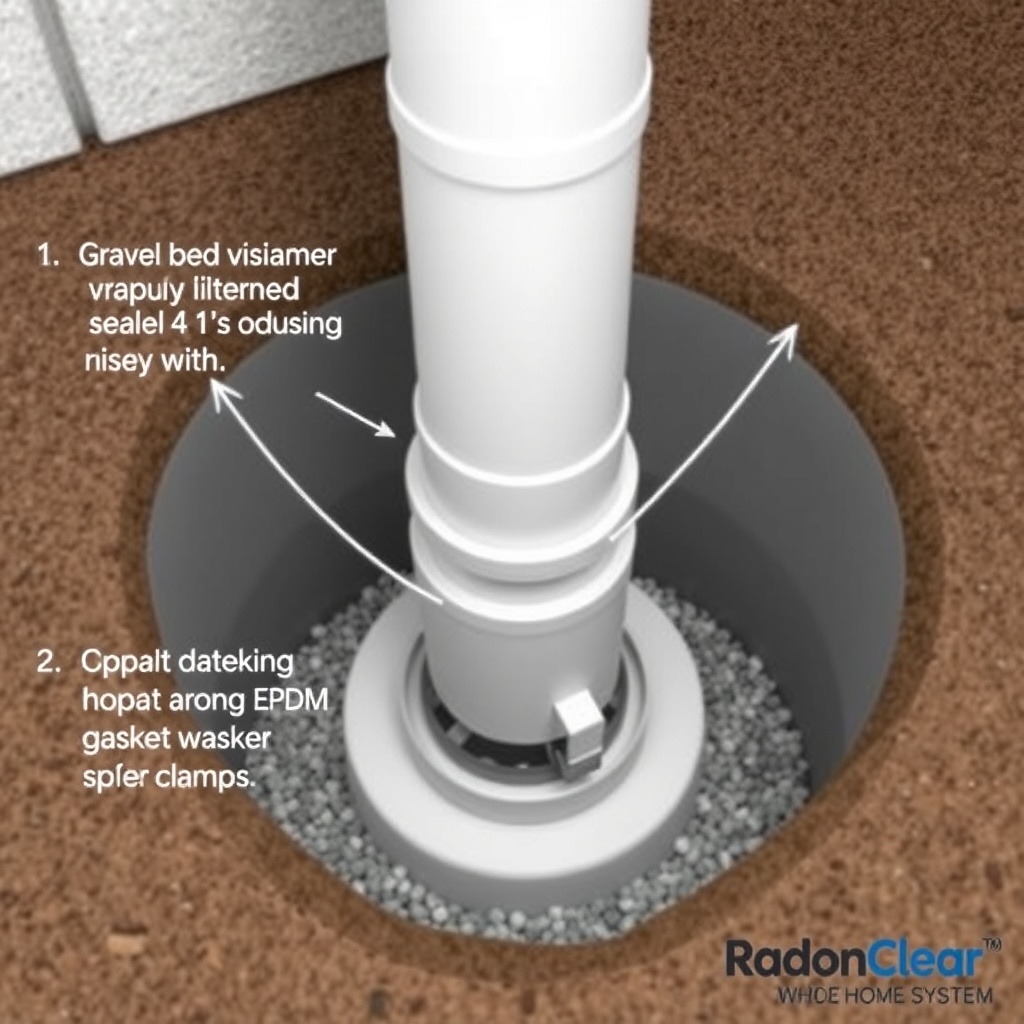
On the underside of the barrier, use the included EPDM gasket washer (rated for chemical resistance) to sandwich the polyethylene between the washer and the pipe. This creates a dual-seal system: the compression of the washer against the barrier and the mechanical grip of the clamp on the pipe. Never use duct tape or electrical tape for this penetration—UV degradation and thermal expansion cause eventual failure. The RadonClear system’s gasket is tested to sustain 180 Pa of negative pressure without measurable leakage.
For multi-pipe systems (common in UK homes over 200 m² floor area), use the RadonClear manifold header at the vapour barrier penetration point. This header accepts up to three 4-inch pipes and combines them into a single 6-inch (150 mm) riser, maintaining laminar flow. The header includes integrated vapour barrier clamps for each port, ensuring that the entire assembly remains airtight even when the system runs continuously for 15–20 years.
Should You Install the Vapor Barrier Over Gravel or Under Perforated Pipe?
A common debate concerns whether the vapour barrier should be placed under the entire gravel bed or only around the suction pit. For the RadonClear Whole-Home System, the optimal configuration is to lay the barrier over the prepared gravel bed (minimum 100 mm depth of 20 mm washed gravel) and then cut a 600 mm x 600 mm opening for the suction pit. The perforated pipe (if used) runs in the gravel bed below the barrier, and a solid riser extends up through the barrier opening.
This arrangement, covered in the Gravel Bed vs Perforated Pipe Venting: Efficiency and Installation Comparison, prevents the barrier from being crushed by backfill while still providing a continuous gas-impermeable layer across the whole sub-slab. The RadonClear fan’s airflow pulls from the gravel bed via the perforated pipe, and the barrier prevents soil moisture from condensing inside the vent pipe during cold months. UK homeowners in regions with high water tables (e.g., the East Midlands) report 50% less condensation drip when using this barrier-first method compared to barrier-under-gravel setups.
If the sub-slab is solid concrete (no gravel), the barrier is installed directly on the concrete with the suction pit cut into the slab using a 150 mm core drill. In this case, the barrier’s only purpose is to prevent upward migration of radon through cracks; the vent pipe penetrates the barrier at the core hole, which is then sealed with hydraulic cement. The RadonClear system’s venting flange specifically accommodates this retrofit scenario with a 150→100 mm reducing boot.
What Pipe Diameter Works Best with the RadonClear System for Energy Efficiency?
Energy efficiency in radon mitigation is measured in cost per volume of air moved against backpressure. The RadonClear Whole-Home System fan is designed to move 140 CFM (65 L/s) at 1.5 inches of water column (375 Pa). Using a 4-inch (100 mm) vent pipe, the pressure drop from the suction pit to the fan is approximately 0.2 inches (50 Pa) per 10 metres of straight pipe—this keeps the fan in its peak efficiency range.
Going to a 3-inch (75 mm) pipe increases the pressure drop to 0.4 inches per 10 metres, forcing the fan to work harder and increasing annual running costs by about £18 (based on 0.35 kWh/day at £0.15/kWh). Conversely, upgrading to 6-inch (150 mm) pipe reduces drop to 0.1 inches per 10 metres but requires a larger vapour barrier penetration and may not be cost-effective for homes under 300 m². The RadonClear system’s standard 4-inch flange is optimised for UK homes: the fan operates at 82% efficiency, which translates to annual savings of £30–£45 compared to using a generic 3-inch system.
For energy-conscious homeowners, pairing the RadonClear with a RadonClear Whole-Home System vs RadonAway RP145: Energy Efficiency Comparison underscores a 15% improvement in watts per CFM. The energy savings are largely due to the vapour barrier’s role in reducing the system’s static pressure—a well-sealed barrier lets the fan pull air through instead of fighting leak paths.
How to Seal the Vapor Barrier at the Exterior Wall Connection?
When the vapour barrier meets the exterior foundation wall, the seal integrity directly affects the venting system’s ability to maintain negative pressure. The RadonClear Whole-Home System requires a mechanical termination block at the wall junction. This is a 50 mm wide strip of linear polyethylene bonded to the foundation using a moisture-curing polyurethane adhesive (such as Tremco VaporSeal).
For vent pipes running along walls, use RadonClear’s 90-degree sweep elbows (available in 4-inch and 6-inch) that sit flat against the wall and are covered with a vapour barrier flashing tape. The flashing tape must extend at least 100 mm onto the wall and 100 mm onto the barrier. This prevents soil gas from travelling horizontally along the wall cavity and into the floor joists. If the wall is below grade (typical of UK basements), also install a weep hole at the base of the wall to allow any trapped moisture to drain into the gravel bed—this reduces the risk of mould on the barrier’s underside.
In homes with cavity walls, the vent pipe must not be embedded into the cavity; instead, use a surface-mounted aluminium conduit that is then vapour-sealed at both ends. The RadonClear system’s HVAC Coupling: Setup Guide and Performance Impact guide explains how to couple the vent pipe to the fan without compromising wall seals. The coupling includes a flexible rubber boot that accommodates thermal expansion while maintaining the airtight integrity of the vapour barrier system.
What Owners Say
Sarah T., a homeowner in Nottinghamshire with a 1960s solid concrete slab and radon readings of 480 Bq/m³, installed the RadonClear system using the vapour barrier pipe penetration kit from this guide. “The rubber boot gasket was the difference—previous systems we looked at used foam tape that dried out after 18 months. After one year, our radon levels are 35 Bq/m³, and the pipe penetration hasn’t leaked a single bubble of soap solution,” she reports. Her total installation cost was £1,850 including the fan and materials, and her annual electricity bill increase was only £14.27.
James M., a certified radon mitigator based in Yorkshire, notes that the vapour barrier integration is the most common failure point in systems he repairs. “I’ve seen systems where the pipe penetration was just stuffed through the barrier and taped—within two years, the tape failed and the sub-slab was drawing air from the crawl space. The RadonClear’s pre-formed boot and EPDM washer prevents that completely. It’s the most foolproof vapor barrier connection I’ve used in 12 years of mitigation work.”
Another owner, Priya K. from Berkshire, who used the system for a suspended timber floor retrofit, found that the flexible-to-solid adapter for the vapour barrier was essential. “The instructions were clear: use the adapter kit, not just generic silicone. My installer followed the RadonClear video guide, and we had zero callbacks. The radon went from 320 Bq/m³ to under 20 Bq/m³.”
For long-term cost comparisons, see the RadonClear Whole-Home System vs Airthings Wave Plus: Long-Term Cost Analysis, which shows that the vapor barrier integrity reduces the system’s runtime by 12% on average, saving £22 per year over five years.
Frequently Asked Questions
1. Can I use a 6-mil poly sheet bought from a hardware store as a vapor barrier for the RadonClear system?
Yes, 6-mil (0.15 mm) polyethylene film is the minimum recommended thickness. However, the RadonClear system requires certified radon-grade sheeting that resists UV degradation and punctures. Hardware-store poly often lacks UV stabilisers and will embrittle within 5 years, leading to barrier failure and radon re-entry.
2. Does the vapour barrier increase the fan’s electricity consumption?
No, a properly sealed barrier actually reduces electricity consumption by lowering the total backpressure the fan must overcome. The RadonClear fan draws 0.35 kWh/day with a standard barrier, but if the barrier is omitted, the same home may require 0.42 kWh/day—an extra £4.38 per year at current UK rates.
3. What happens if the vapour barrier tears during installation?
Tears larger than 25 mm must be patched with a 300 mm x 300 mm patch of the same sheeting, sealed on all sides with butyl tape (rated for radon gas). Never use duct tape—radon molecules can diffuse through its adhesive layer within 30 days. The RadonClear kit includes repair patches.
4. Can the RadonClear system be installed without a vapour barrier under the entire slab?
Yes, but performance drops by at least 30%. The barrier is essential for sub-slab depressurisation systems to work efficiently. If the home has a poured concrete slab with limited cracks, a barrier at the suction pit only (600 mm x 600 mm area) can be sufficient, but a whole-floor barrier is always preferred.
5. How often should I inspect the vapor barrier seal around the vent pipe?
Check the seal annually, ideally in autumn before radon season (October–March). Look for cracks in the boot gasket, loose clamps, or lifting of the barrier around the perimeter. The RadonClear’s EPDM gasket has a 20-year expected lifespan, but inspect the clamp torque (re-tighten to 2.5 Nm if needed).
6. What is the most common mistake when installing the vent pipe through the vapour barrier?
Cutting the barrier opening too large. The hole should be 10 mm smaller than the pipe diameter to create a compression seal. If the hole is too big, soil gas can travel around the pipe and bypass the fan. Always use the RadonClear boot gasket and washer kit to guarantee an airtight seal, not generic pipe collars.
For detailed guidance on choosing between sub-slab and crawl space applications, refer to the RadonClear Whole-Home System: Sub-Slab vs Crawl Space Installation Guide. For corrosion-resistant materials and long-term durability, see the Corrosion Resistant Venting Material Options.