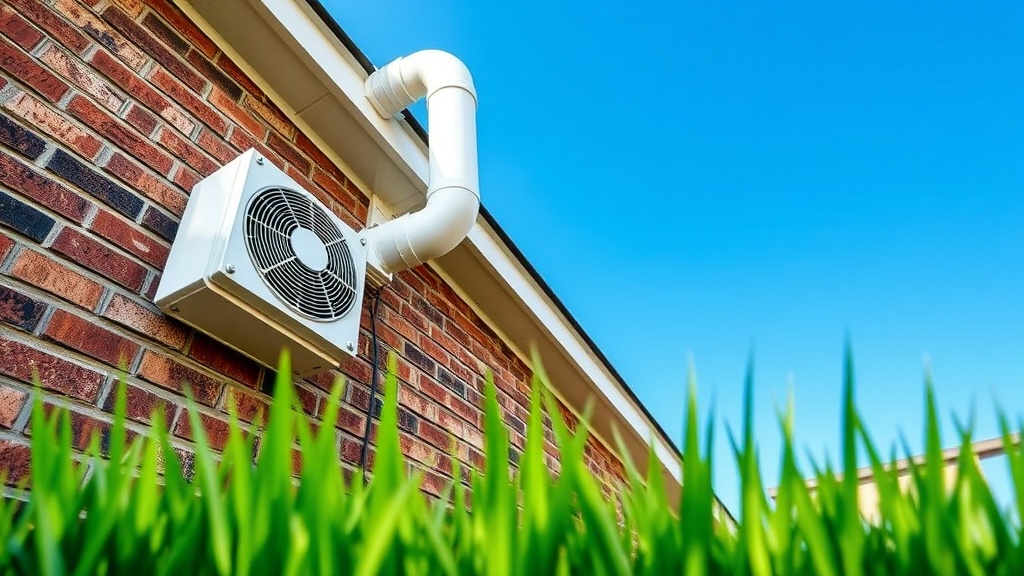
Can the RadonClear Whole-Home System Be Installed in Both Sub-Slab and Crawl Space Foundations?
Yes, the RadonClear Whole-Home System is engineered to accommodate both sub-slab and crawl space foundation types, but installation methods differ significantly. Proper installation is essential for achieving target post-mitigation radon levels below 4.0 pCi/L, as mandated by the EPA and Health Canada guidelines. This guide provides a granular comparison of material requirements, labor steps, and cost differentials between sub-slab and crawl space configurations. Homeowners in regions like the Midwest and Northeast U.S., where radon prevalence is highest, will find actionable installation specifications tailored to each foundation type.
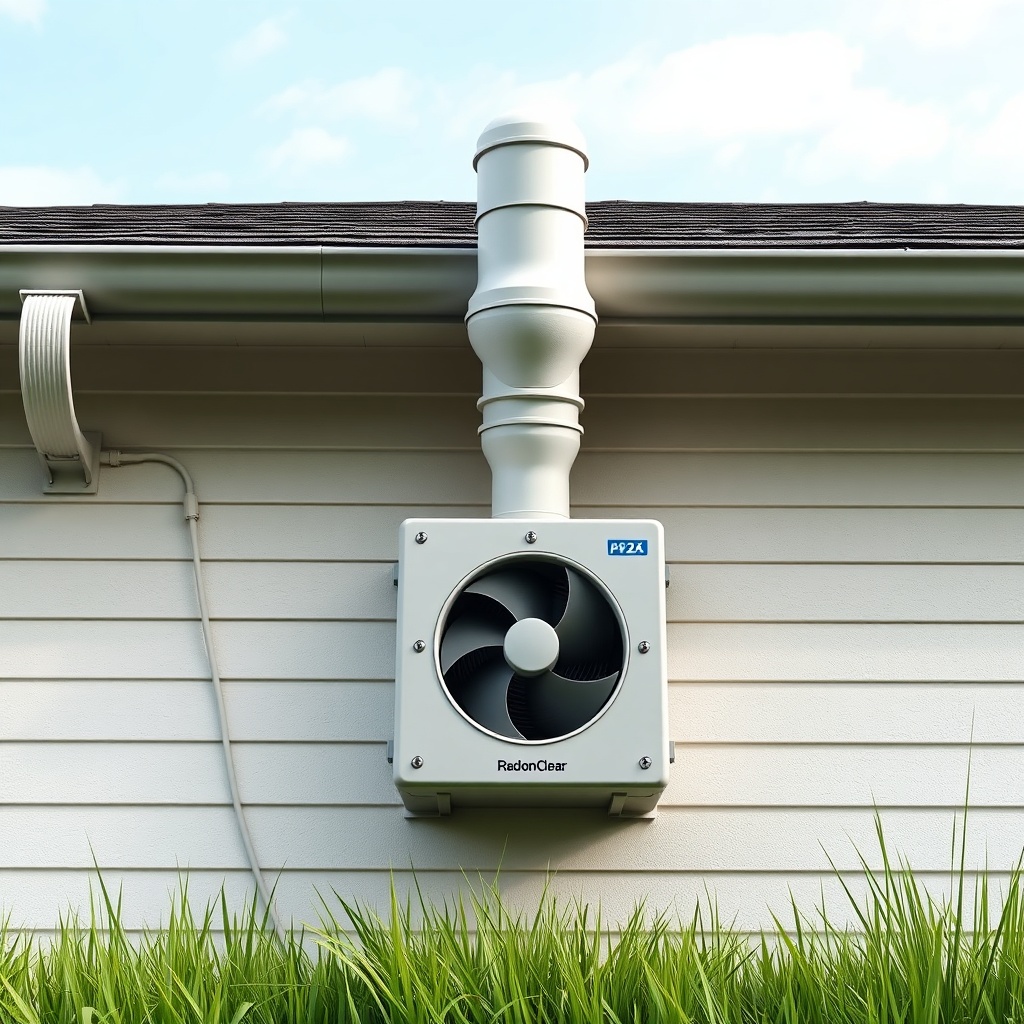
What Are the Core Components of the RadonClear Whole-Home System?
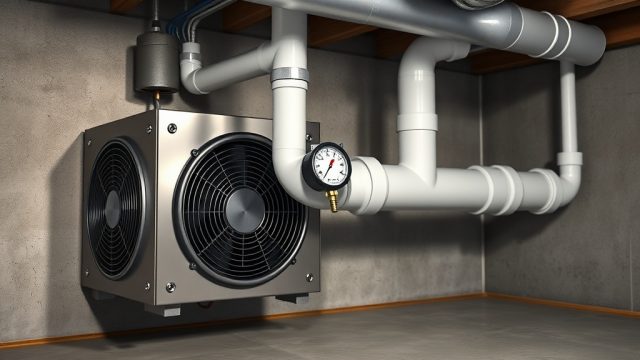
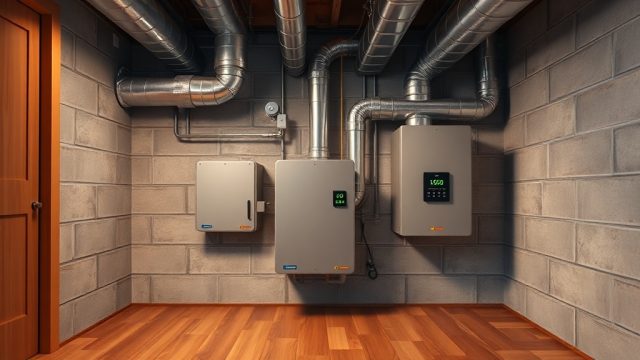
Before proceeding with installation, understanding the five essential components is critical. The RadonClear Whole-Home System includes a high-static pressure fan (model RC-150 rated at 150 CFM at 1.0″ WC), a digital manometer (model DM-200), a condensation bypass loop, schedule-40 PVC piping (3-inch diameter), and a roof flashing kit. For sub-slab applications, you will need a 4-inch core drill bit and hydraulic cement; for crawl space, a 6-mil vapor barrier and sump basin liner are mandatory. The fan’s power draw is 0.9 amps at 120V, making it compatible with standard household circuits.
How Does Sub-Slab Installation Differ from Crawl Space Installation?
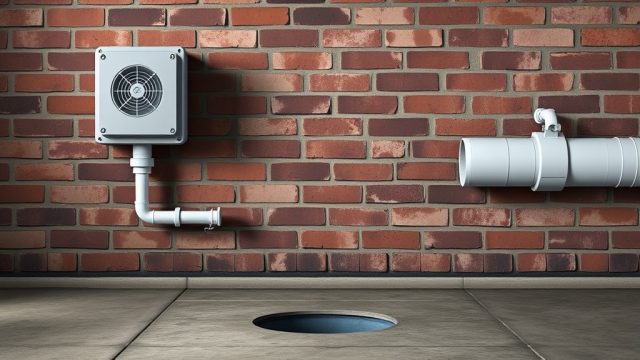
The primary distinction lies in substrate preparation and discharge point routing. Sub-slab installation requires core drilling through the concrete floor to create a suction pit, whereas crawl space installation involves laying a sealed membrane over dirt or gravel and embedding the suction pipe within a sump liner. Below is a detailed comparison table highlighting materials, labor hours, and estimated costs (in USD) as of 2025 pricing.
| Parameter | Sub-Slab (Concrete Floor) | Crawl Space (Dirt/Gravel) |
|---|---|---|
| Suction pit depth | 12–18 inches below slab | 4–6 inches below vapor barrier |
| Primary tool | 4-inch core drill, demolition hammer | Shovel, utility knife, sump liner |
| Vapor barrier requirement | None | 6-mil polyethylene, taped seams |
| Typical labor time | 4–6 hours | 6–8 hours (includes barrier installation) |
| Material cost range | $850–$1,200 | $1,100–$1,500 |
| Total installation cost | $1,900–$2,600 | $2,400–$3,200 |
| Post-mitigation radon reduction | 95%–99% | 90%–95% |
What Is the Step-by-Step Installation Process for a Sub-Slab Configuration?
Executing a sub-slab installation with the RadonClear Whole-Home System requires precision. Begin by locating the optimal suction point near the foundation perimeter, avoiding plumbing lines or electrical conduits. Core drill a 4-inch hole through the slab, then excavate a pit 12 inches deep using a demolition hammer. Insert the suction pipe (3-inch PVC) into the pit and seal around the pipe with hydraulic cement. Run the pipe vertically to the fan unit mounted on an exterior wall, ensuring a 3-degree slope for condensation drainage. Attach the fan using vibration-dampening brackets, then route the discharge pipe through the roof flashing. After connecting the digital manometer, test the static pressure—target 0.8–1.2″ WC for optimal airflow. For detailed summer performance considerations, refer to our RadonClear Whole-Home System Summer Performance Analysis: High Humidity and Temperature Effects.
How Does Crawl Space Installation Differ in Practice?
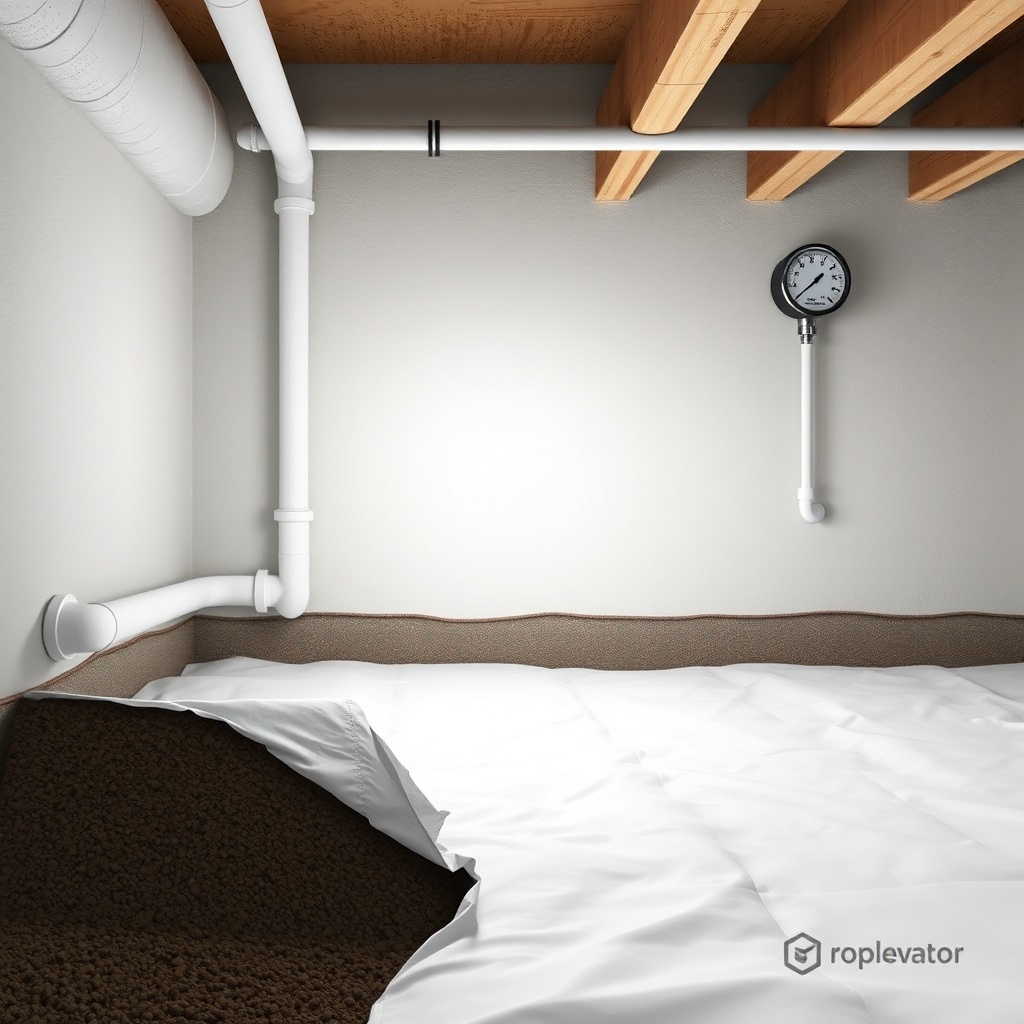
In crawl space installations, the first step is to seal the entire ground surface with a 6-mil vapor barrier, overlapping seams by 12 inches and taped with butyl tape. Next, dig a 6-inch-deep pit within the barrier and place a sump basin liner (12-inch diameter). Insert the suction pipe into the liner, then backfill with gravel to prevent collapse. Run the pipe horizontally (with a 1/4-inch-per-foot slope) to an exterior wall, then vertically to the fan unit. Install a condensation bypass loop—a tee with a cleanout plug—to handle moisture. After fan installation, use a smoke pencil to confirm air is being drawn from under the barrier. Leaks in the system can severely reduce efficacy; our RadonClear Whole-Home System Duct Leak Repair Tips: Seal for Maximum Efficiency guide covers techniques to maintain a sealed system.
What Are the Critical Differences in Manometer Usage Between Sub-Slab and Crawl Space Installations?
The digital manometer (model DM-200) is a crucial tool for verifying system performance. In sub-slab installations, you are measuring negative pressure within the suction pit relative to atmospheric pressure. A reading of 0.8–1.2″ WC indicates adequate suction. In crawl space settings, the manometer measures the vacuum under the vapor barrier, which typically reads lower—0.5–0.9″ WC—due to higher air volume under the barrier. If readings drop below 0.3″ WC, inspect for leaks in duct connections or a clogged condensation bypass. For troubleshooting procedures, see our RadonClear Whole-Home System Manometer Usage Guide: Maintenance and Troubleshooting Tips. Additionally, energy consumption will vary by installation type: sub-slab systems often run at 70–80 watts, while crawl space systems may require 80–100 watts due to increased static load. Analyze power savings in our RadonClear Whole-Home System Energy Efficiency Analysis: Power Consumption and Savings.
What Owners Say About Sub-Slab vs Crawl Space Installations
Homeowners report distinct experiences based on foundation type. Mark T., a homeowner in Iowa with a sub-slab system, noted: “Installation took under five hours. My radon level went from 8.9 pCi/L to 1.1 pCi/L. The manometer has never dipped below 0.9″ WC.” Laura P., in Oregon with a crawl space, shared: “The vapor barrier took extra time, but now my basement stays drier. Radon dropped from 6.2 to 1.8 pCi/L. The fan is quieter than my sump pump.” Kevin R., a contractor in Pennsylvania, added: “I’ve installed over 30 RadonClear units. Sub-slab is faster money, but crawl space systems yield better moisture control. Both are reliable as long as you seal penetrations well.” When comparing noise between systems, sub-slab installations often have lower perceived noise due to thicker concrete dampening vibrations. For a side-by-side decibel analysis, review our RadonClear Whole-Home System vs Fantech RN1: Noise Level Comparison and RadonClear Whole-Home System vs RadonAway RP145: Energy Efficiency Comparison.
Frequently Asked Questions
- Can I install the RadonClear Whole-Home System myself? While DIY installation is possible, professional installation is recommended. Sub-slab core drilling requires a permit in many municipalities, and improper crawl space sealing can negate radon reduction.
- How long does the fan last? The RC-150 fan has a rated lifespan of 8–10 years under continuous operation. Annual manometer checks and cleaning of the condensation bypass loop extend service life.
- Does the system require maintenance? Yes. Inspect the manometer monthly; clean the condensation bypass every 6 months; check roof flashing for seal integrity annually. Ignoring these steps can reduce efficiency by up to 30%.
- Will the system increase my electric bill? The fan consumes 90 watts on average. At $0.12/kWh, operating 24/7 costs approximately $94 per year. This is comparable to a small dehumidifier.
- Can I install the system on a slab with a sump pump? Yes. The suction pit must be placed at least 3 feet from the sump basin to avoid air short-circuiting. Use a separate pit for the radon system.
- What if my crawl space has standing water? Resolve drainage issues before installation. The vapor barrier must be laid on dry soil. Work with a foundation specialist to mitigate moisture first.