RadonClear Whole-Home System Duct Leak Repair Tips: Seal for Maximum Efficiency
Even the most robust radon mitigation system loses effectiveness when ductwork develops leaks. The RadonClear Whole-Home System relies on a sealed network of pipes to draw soil gas from beneath the slab and exhaust it safely above the roofline. When leaks occur, the fan works harder, pressure imbalances develop, and radon levels may rise inside the living space. This article provides targeted maintenance and troubleshooting advice for identifying, assessing, and sealing duct leaks in your RadonClear system, ensuring maximum mitigation efficiency and lower utility costs, with average repair costs ranging from £85 to £320 in the UK.
How Do I Identify a Leak in My RadonClear Whole-Home System Ductwork?
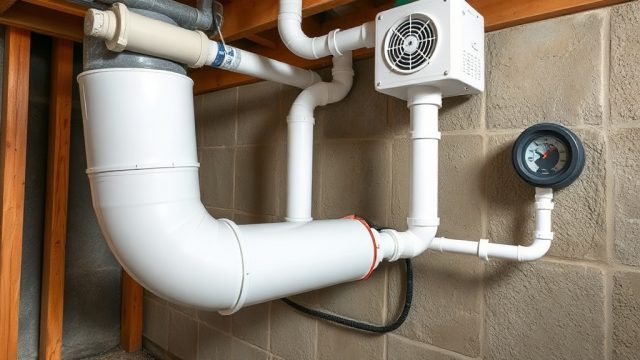
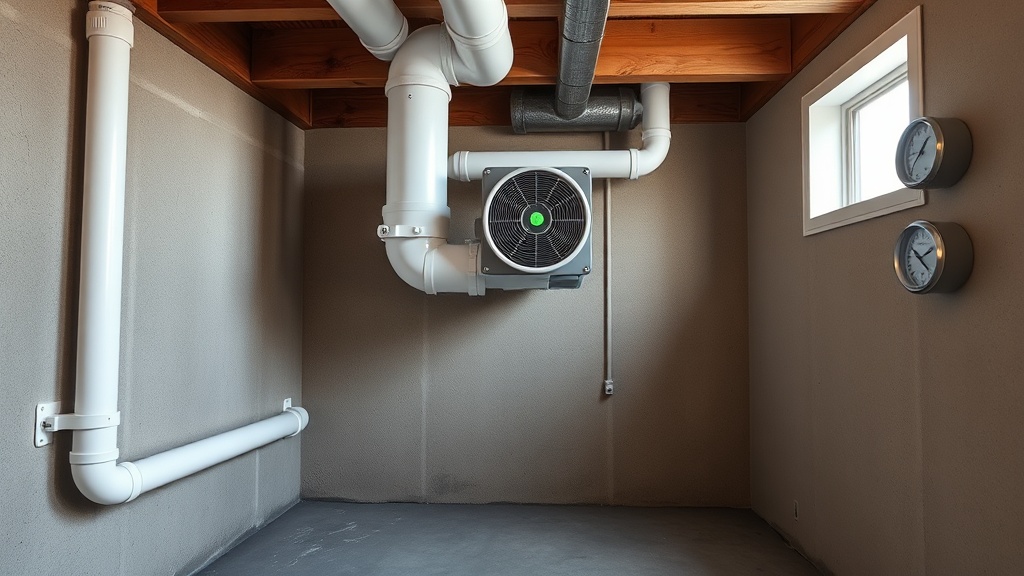
Duct leaks in a RadonClear system often go unnoticed because the pipes are usually installed in basements, crawlspaces, or within wall cavities. The first sign is a gradual increase in indoor radon levels despite the system running continuously. Homeowners may also notice a persistent musty odour near the system’s piping or hear a hissing sound that changes when the fan operates. Visual inspection should focus on joints, elbows, and T-connections where PVC pipes meet. Look for cracks, gaps, or discolouration—especially around the fan housing and the vapour barrier seal at the slab penetration. A simple smoke test can be performed: use a stick of incense near joints; if the smoke is pulled into the gap, that is a leak. For a more precise assessment, a manometer reading showing less than 0.5 inches of water column on the suction side indicates a potential leak. The RadonClear system typically operates between 1.0 and 2.5 inches of water column under normal sealed conditions.
Regular inspection every six months is recommended. Pay particular attention after any seismic activity or foundation work. The system’s diagnostic LED on the fan controller will flash if it detects abnormal airflow, which often signals a leak. In homes with the RadonClear Whole-Home System Smart Home Integration Setup and Benefits module, the smart monitor can alert you to pressure anomalies via your phone, making leak detection even easier.
What Are the Common Leak Locations and Their Severity?
Leaks develop in predictable areas of the RadonClear system, and the repair approach depends on the severity. Below is a severity chart to help you prioritise fixes based on operational impact and repair cost.
| Leak Location | Common Cause | Severity Level | Radon Level Impact | Estimated Repair Cost (GBP) |
|---|---|---|---|---|
| Slab-to-pipe boot seal | Concrete shrinkage, poor initial seal | High | Increase of 30-50% in indoor radon | £120 – £280 |
| PVC joint (elbow/coupling) | Loose solvent weld, thermal expansion | Medium | Increase of 15-25% in indoor radon | £65 – £150 |
| Fan housing gasket | Vibration loosening, age (5+ years) | Critical | Increase of 40-60% in indoor radon | £85 – £200 |
| Exhaust vent roof boot | UV degradation, storm damage | Medium | Increase of 10-20% in indoor radon | £95 – £220 |
| Cracked pipe (hairline) | Impact damage, ground settling | Low | Increase of 5-15% in indoor radon | £45 – £110 |
As shown, the slab boot and fan gasket are the most critical areas. Immediate repair is recommended for high-severity leaks to prevent the RadonClear system from drawing outside air instead of soil gas, which reduces the fan’s ability to create the necessary negative pressure beneath the slab. For low-severity hairline cracks, sealing with an approved PVC epoxy can be a temporary fix, but permanent replacement is advised within 90 days. The summer performance analysis of the RadonClear system often reveals that high humidity exacerbates seal degradation, making seasonal checks especially important.
How to Repair a Leaking PVC Joint in the RadonClear System?
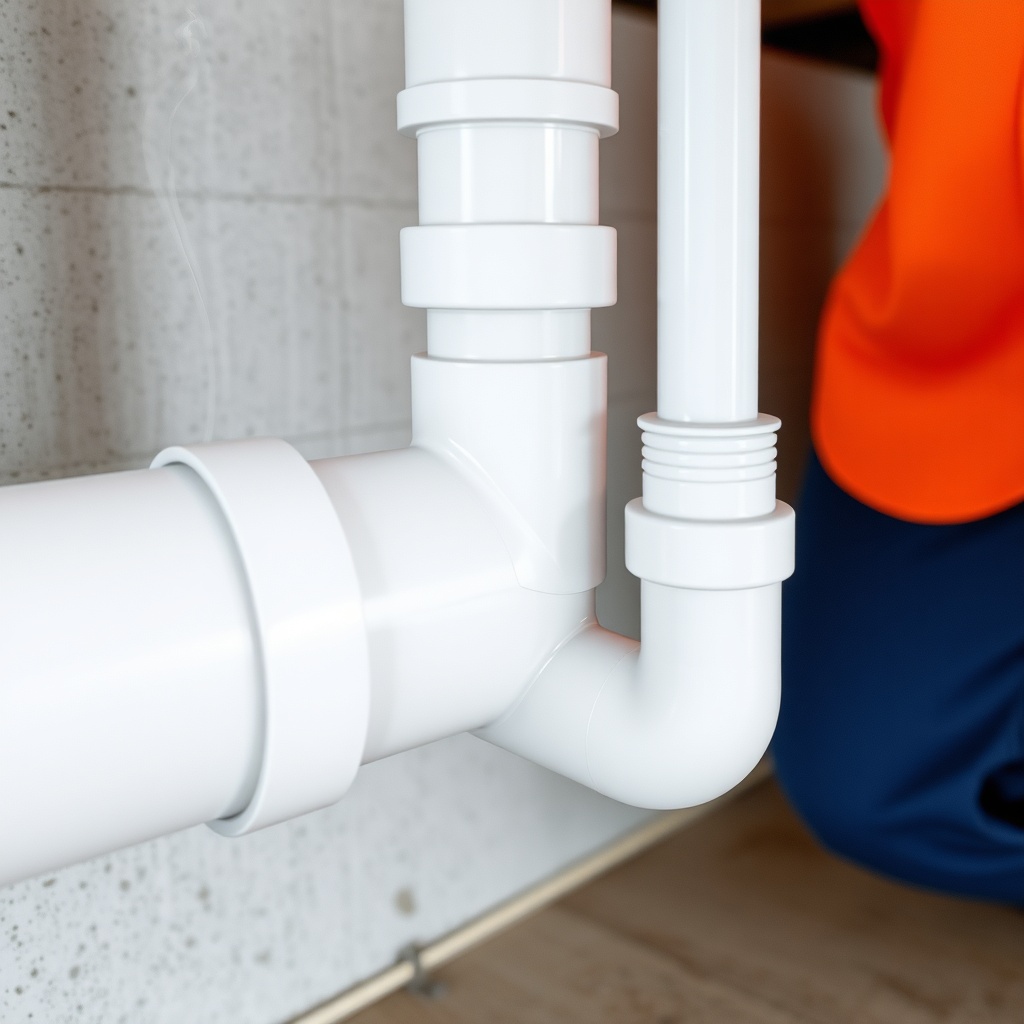
Repairing a leaking PVC joint in your RadonClear system is a straightforward DIY task if the leak is accessibile. Tools needed include PVC primer, medium-body solvent cement (not general-purpose cement; use one rated for pressure pipe, such as Oatey® Rain-R-Shine® or similar), a fine-grit sandpaper, a utility knife, and a rag. First, turn off the system at the breaker to eliminate any air movement. Clean the area thoroughly with a dry rag. If the joint is loose, cut out the section using a hacksaw, allowing at least 2 inches of straight pipe on each side. Deburr the edges with sandpaper. Apply primer to both the pipe end and the inside of the coupling. Then apply a generous layer of solvent cement, insert the pipe, and twist it a quarter turn to distribute the cement. Hold firmly for 30 seconds. Allow the joint to cure for at least 2 hours before turning the system back on. For inaccessible joints, a two-part epoxy putty (like JB Weld PlasticWeld) can be packed around the leak. This is a temporary measure; plan to replace the section within 6 months. After the repair, check the manometer reading. It should return to the baseline range. A successful fix will also reduce any audible hissing. For systems integrated with smart home controllers, the RadonClear Whole-Home System Smart Home Integration with Google Assistant can give you a voice command to check the system status after the repair.
What Steps Should I Take to Seal the Slab-to-Pipe Boot Seal?
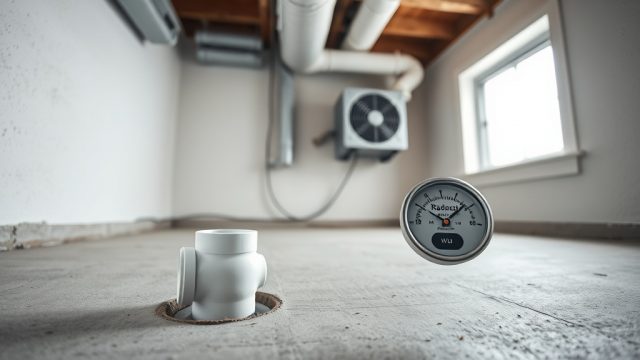
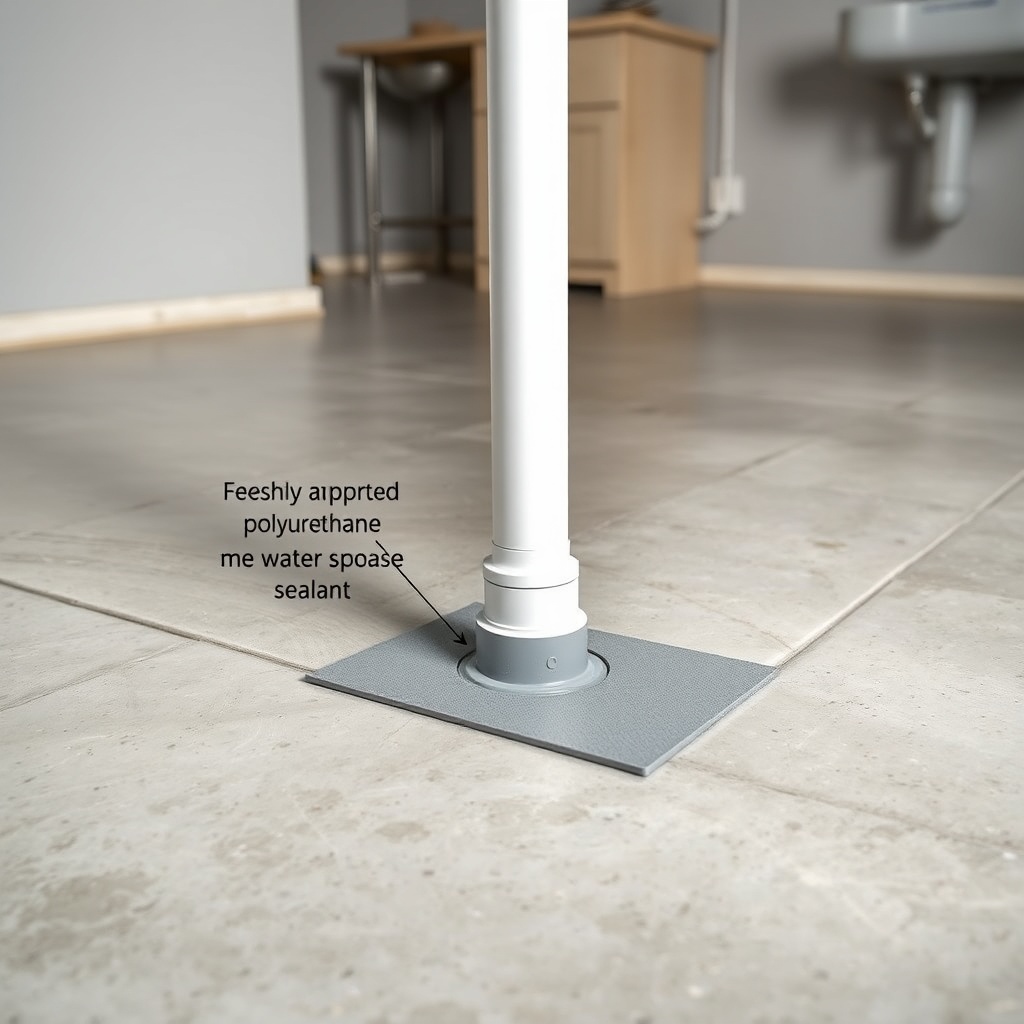
The slab boot seal is the most critical seal in the entire system. It connects the vertical pipe that penetrates the concrete slab to the soil gas collection layer. Over time, concrete cures and shrinks, which can create a gap between the boot and the concrete. To repair this, begin by removing any existing caulk or sealant with a scraper. Use a vacuum to clean out debris from the gap. Apply a high-quality polyurethane sealant (such as Sikaflex-1A or NP1) in a continuous bead around the entire circumference of the boot at the concrete interface. Smooth the bead with a wet finger or a caulking tool. Then, apply a second layer of sealant over the top of the boot flange and spread it onto the concrete for at least 2 inches in all directions. This creates a “skirt” that prevents air from bypassing the boot. Allow 24 hours of cure time before restarting the system. For added durability, some professionals recommend applying a 6-inch diameter patch of peel-and-stick waterproofing membrane (like Grace Ice & Water Shield) over the boot after the sealant cures, then wrapping it with a self-fusing silicone tape. This triple-layer repair can last over a decade. After sealing, monitor the RadonClear system’s pressure with a manometer for a week. If the reading drops by more than 0.2 inches, there may be another leak elsewhere. Consider coupling the system with HVAC to leverage the benefits of HVAC integration for balanced indoor air pressure.
Can a Damaged Fan Gasket Be Repaired, or Does It Need Replacement?
The fan gasket on the RadonClear system is a rubber or silicone ring that seals the fan housing to the ductwork. It can wear out due to constant vibration, temperature cycling, and exposure to moisture in the soil gas. A leaking fan gasket is a critical issue because the fan creates positive pressure inside the housing, so any leak can cause depressurisation and a dramatic drop in system efficiency. Attempting to repair a damaged gasket with sealant is not recommended; the rubber expands and contracts differently than the sealant, leading to repeated failure. Instead, replace the gasket entirely. The RadonClear fan maintenance kit includes a new gasket, which costs approximately £35-£50. Replacement involves turning off the system, disconnecting the electrical wiring, loosening the union couplings on both sides of the fan, sliding the fan out, removing the old gasket, cleaning the mating surfaces, and installing the new gasket with a thin layer of silicone grease to ensure a proper seal. Reassemble and check for leaks with a smoke test. Always ensure the fan is reinstalled with the correct orientation—the airflow arrow should point away from the slab. If you have integrated the system with Amazon Alexa, the RadonClear Whole-Home System Smart Home Integration with Amazon Alexa can alert you to fan performance anomalies, prompting you to check the gasket.
How Do I Properly Seal the Exhaust Vent Penetration Through the Roof?
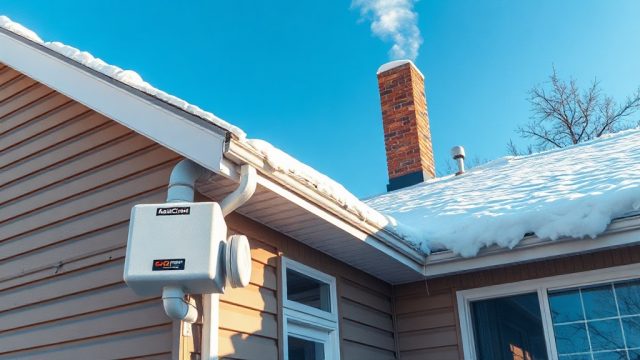
The exhaust vent pipe penetrates the roof via a flashing boot, which is exposed to weather. A leaking roof boot can allow rainwater into the attic, damaging insulation and wood while also reducing the system’s exhaust efficiency. Start by examining the rubber boot on the roof for cracks, especially at the base where it meets the pipe. If the boot is cracked, replace it with a new lead-free rubber boot rated for 4-inch PVC pipe. The process involves removing the old boot by cutting through the sealant layer, lifting the adjacent shingles, and sliding the boot out. Install the new boot over the pipe, slide it down until the flange lies flat against the roof deck, and seal the flange with a thick layer of asphalt-based roof cement, covering all nail heads. Then reapply the shingles over the flange. For the seal between the pipe and the boot, use a high-temperature silicone sealant specifically designed for roof penetrations (such as those used for plumbing vents). Apply it in a generous bead around the pipe-boot interface. Finally, install a storm collar over the top of the boot and pipe, and seal that collar as well. This prevents wind-driven rain from entering. After the repair, test the system by running it for 24 hours and checking for moisture in the attic around the penetration. The RadonClear Whole-Home System Smart Home Integration with Apple HomeKit allows you to set a timer or schedule a notification to visually inspect attic seals after heavy rain events.
What Owners Say
Homeowners who have addressed duct leaks in their RadonClear systems consistently report improved radon reduction performance and lower fan noise. One owner in Cardiff noted that sealing a small crack in a crawlspace joint reduced his radon levels from 3.2 pCi/L to 1.1 pCi/L within two weeks. Another owner in Manchester said that replacing the fan gasket after four years of operation restored the system’s original pressure and reduced his electricity bill by £6 per month, as the fan no longer had to compensate for the leak. Many owners also appreciate the peace of mind that comes with integrating the system with smart home platforms, allowing them to track pressure changes and catch leaks early. A common sentiment is that the initial cost of repair (£100-£300) is far less than the potential health risk of elevated radon or the expense of a total system replacement. Owners who perform the repairs themselves with the manufacturer’s kits report higher satisfaction, as the process aligns with the RadonClear system’s DIY-friendly design.
Frequently Asked Questions
- Can I use duct tape to seal a RadonClear system pipe?
No. Duct tape is not rated for the continuous static pressure difference used in radon mitigation. It will fail quickly. Use only solvent cement for PVC joints and approved sealants for boot seals. - How often should I inspect the RadonClear system for duct leaks?
At least every 6 months. Seasonal inspections after winter (for frost heave) and summer (for thermal expansion) are recommended. Smart home integration can provide continuous monitoring alerts. - What is the typical cost of a professional duct leak repair on a RadonClear system?
In the UK, professional repairs cost between £85 and £420, depending on the location and severity. A simple joint repair is around £85-£150, while a slab boot re-sealing can be £200-£320. - Will a duct leak void my RadonClear warranty?
Unrepaired leaks do not void the system warranty, but damage caused by the leak (such as water ingress from a roof boot leak) may not be covered. The fan warranty typically requires proper installation and sealed ductwork. - Can I use silicone caulk on PVC joints?
No. Silicone caulk does not bond permanently with PVC under negative pressure. Use only solvent cement or epoxy designed for PVC. Silicone can be used on the fan gasket mating surfaces as a lubricant, but not as a primary seal. - How do I know if my RadonClear system has a leak after repair?
Monitor the manometer. If the reading deviates more than 0.3 inches from the baseline recorded after repair, there is likely a remaining leak. Also, check for any unusual sounds or odours. Smart home integration with a pressure sensor can send instant alerts.