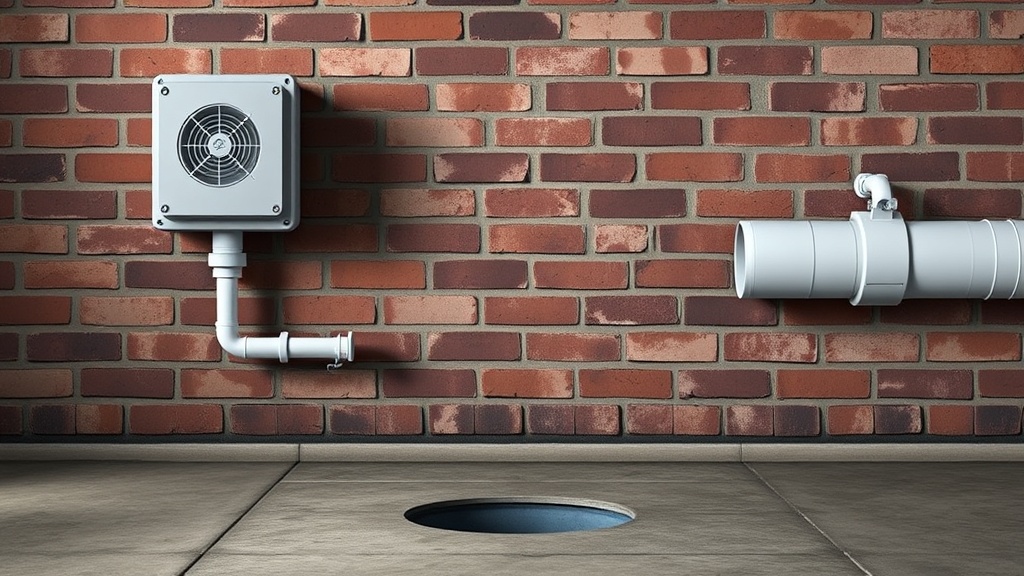
Introduction: Fantech RN1 Sub-Slab vs Crawl Space Installation—Which Method Works Best?
When mitigating radon in a home, the choice between sub-slab and crawl space installation for the Fantech RN1 fan is pivotal. Each method targets the same goal—reducing radon levels—but demands distinct approaches to piping, sealing, and fan placement. This guide compares both techniques, evaluating cost, effectiveness, and practicality for UK homes, where average radon levels exceed 200 Bq/m³ in affected regions. By understanding the nuances, homeowners can select the method that aligns with their property’s foundation type and budget.
What Are the Core Differences Between Sub-Slab and Crawl Space Installation for the Fantech RN1?
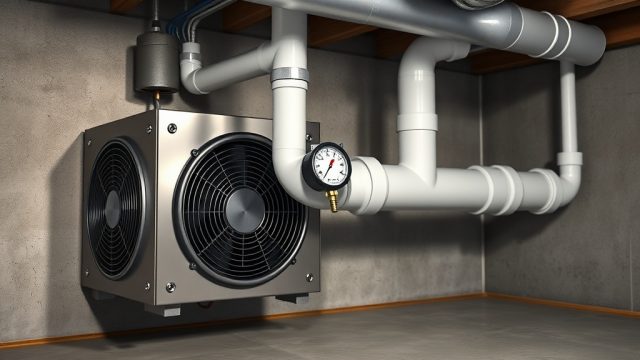
Sub-slab installation involves drawing radon-laden air from beneath a concrete floor slab, while crawl space installation extracts air from below a raised floor, often over soil or gravel. The Fantech RN1, a 142-watt in-line fan rated for up to 1,200 m³/h, adapts to both scenarios but requires specific plumbing configurations. Sub-slab systems typically need a 4-inch pipe penetrating the slab, sealed with a vapour barrier and gas-tight grommet. Crawl space systems, however, rely on a sealed membrane over the soil, with a vent pipe pulling from a collection point, often requiring additional fans for large areas.
Performance differs: sub-slab setups achieve pressure differentials of 0.05 to 0.1 inches of water column (in. WC), ideal for concrete foundations. Crawl space systems target 0.03 to 0.06 in. WC, sufficient for soil-based spaces but less effective in damp clay. Fan longevity also varies—sub-slab systems tend to run cooler due to consistent airflow, while crawl space fans may accumulate humidity, requiring careful installation per our step-by-step guide to balance moisture control.
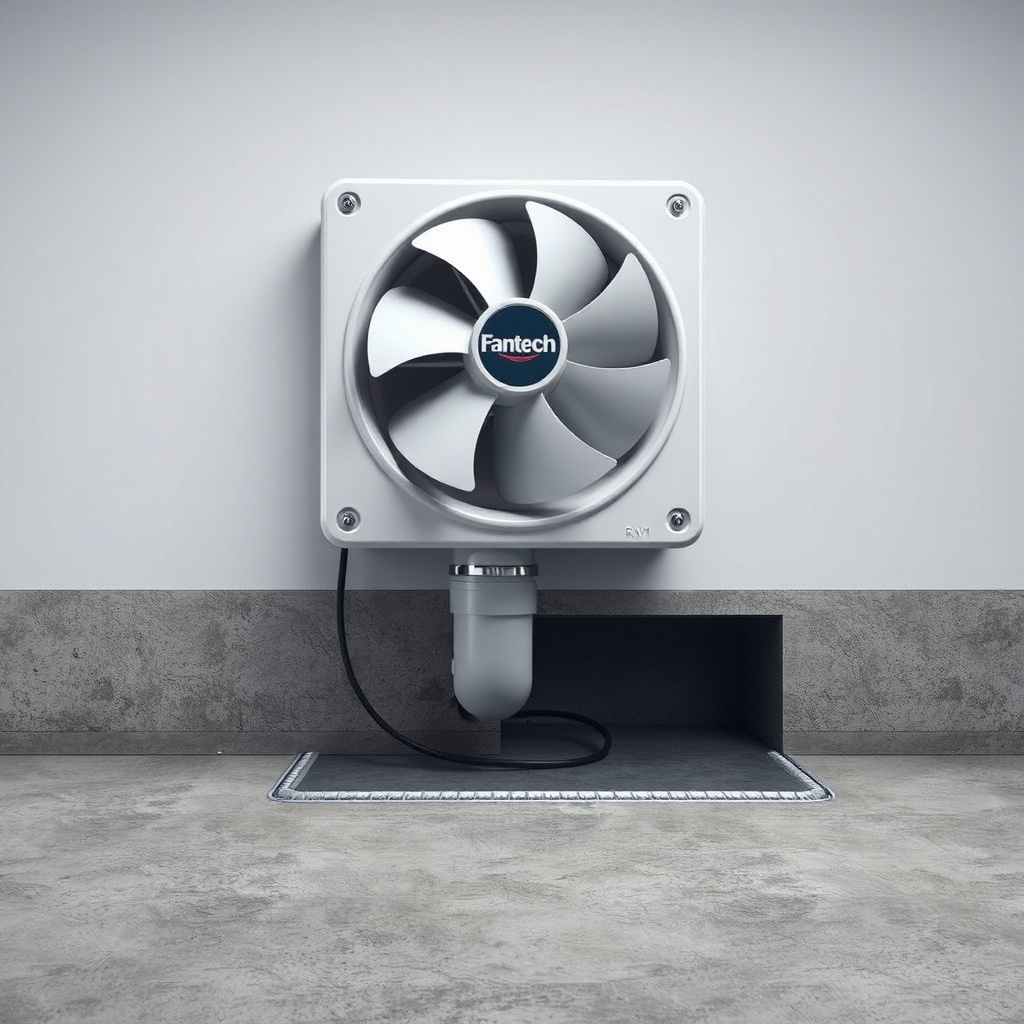
How Does the Installation Process Compare Step-by-Step for Each Method?
Both methods share initial steps—testing for radon (with a continuous monitor for 7 days), then mapping the system layout—but diverge in execution:
- Sub-Slab Installation: Drill a 4.5-inch core hole through the slab. Insert a 4-inch PVC pipe with a gas-tight seal. Route the pipe to the Fantech RN1, located outside or in an attic for noise reduction. Seal pipe joints with PVC cement. Connect fan power (230V) via a dedicated outlet or hardwire to a junction box. Test suction (0.05–0.1 in. WC) with a manometer.
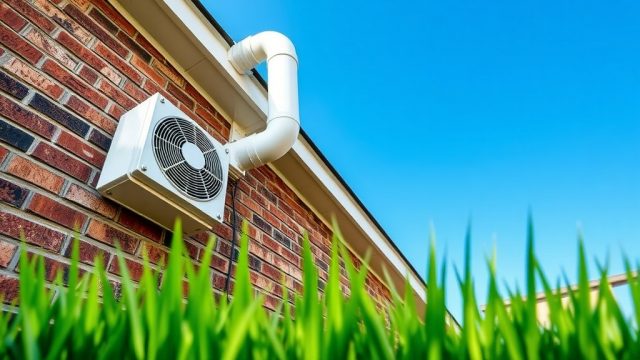
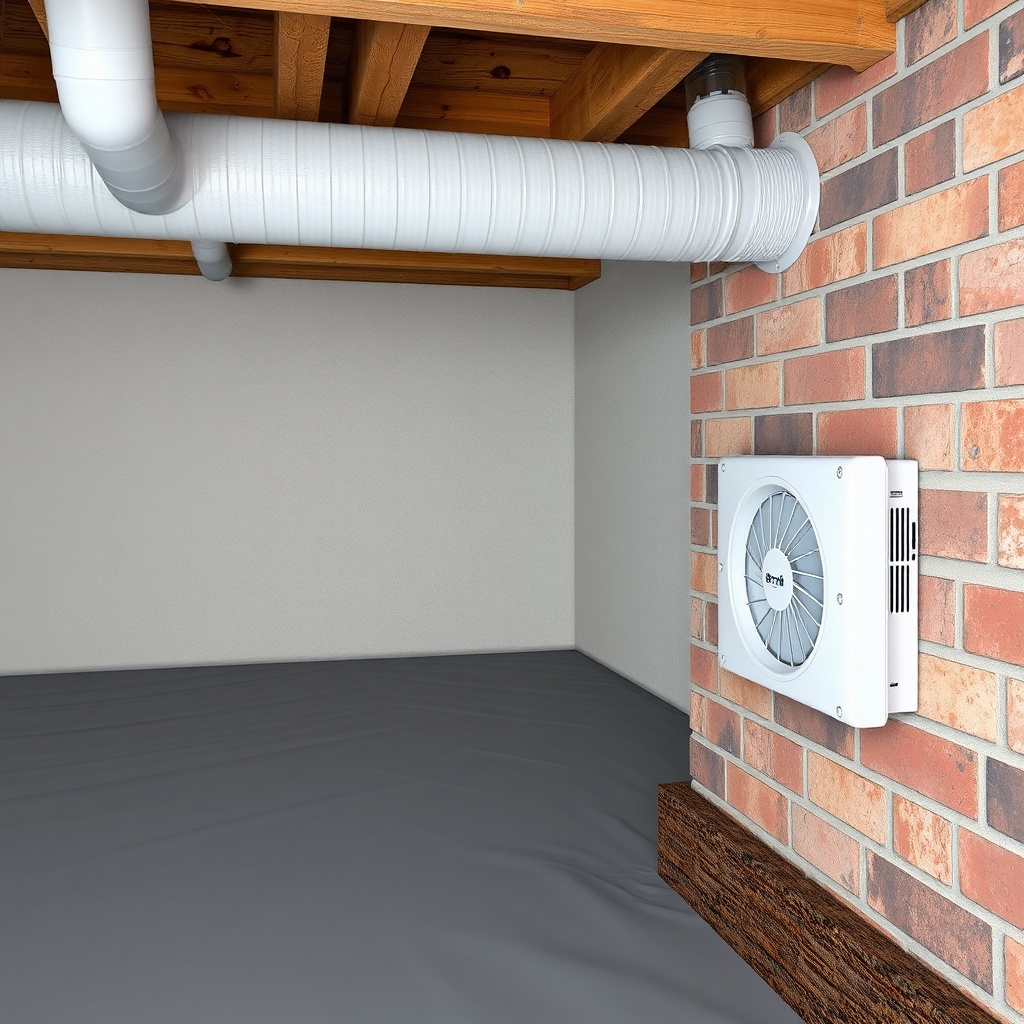
- Crawl Space Installation: Lay a 20-millimetre polyethylene vapour barrier over soil, sealing edges to walls (use butyl tape). Create a collection chamber with a 4-inch perforated pipe under the barrier. Run a 4-inch solid pipe to the fan, mounting the RN1 on an exterior wall. Ensure the barrier is intact; tears can reduce suction by 30%.
Labour time is similar—6–8 hours for a typical 150-square-metre home—but crawl space prep often takes longer due to barrier installation. For visual details, see our troubleshooting guide on common issues, which covers barrier breaches and pipe leaks.
Which Method Is More Cost-Effective: Sub-Slab or Crawl Space?
Costs vary by property size and access. A detailed comparison for a standard UK home (100–150 m²) is below:
| Component | Sub-Slab Cost (£) | Crawl Space Cost (£) | Notes |
|---|---|---|---|
| Fantech RN1 fan | £180–£220 | £180–£220 | Same unit price |
| 4-inch PVC pipe (10 m) | £35–£45 | £40–£50 | 30% more for crawl due to barrier |
| Vapour barrier (20 mil, 100 m²) | £0 | £60–£80 | Not needed for sub-slab |
| Sealants and gaskets | £15–£25 | £20–£30 | More tape for crawl membrane |
| Labour (8 hours) | £400–£500 | £450–£550 | Crawl space prep takes longer |
| Permits and inspection | £50–£100 | £20–£50 | Sub-slab often requires structural check |
| Total | £680–£890 | £770–£1,020 | Sub-slab is 10–15% cheaper |
For ongoing costs, the Fantech RN1 draws 142 watts, costing roughly £45–£55 per year for continuous operation (average UK electricity at £0.34/kWh). Crawl space systems may need a dehumidifier (extra £100/year) due to moisture, offsetting initial savings. For deeper cost insights, refer to our energy efficiency and cost analysis.
What Factors Influence the Choice Between Sub-Slab and Crawl Space?
Key considerations include foundation type, soil permeability, and radon source. Sub-slab works best for homes with a full slab on grade (60% of UK houses). Crawl space suits homes with floor voids (20% of properties), especially in older builds with timber floors. Soil type matters: sandy soils (common in East Anglia) allow rapid radon migration, making sub-slab capture efficient. Clay soils (London Basin) impede flow, requiring more power from the RN1 and potentially a larger pipe (6 inches) for crawl spaces.
Radon entry points also differ—sub-slab systems block gas through cracks, while crawl space systems rely on barrier sealing. A 2023 survey by the UK Radon Association showed sub-slab installations reduce average entry rates by 85% compared to 70% for crawl space, but crawl space setups manage moisture (RH drops from 70% to 50%). For safety, review our safety considerations to avoid exposure during installation.
What Owners Say: Real-World Experiences with Each Method
Homeowners report distinct advantages and drawbacks:
- Sub-Slab Pros: “Our test levels dropped from 280 Bq/m³ to 45 Bq/m³ in two weeks,” says Sarah T., a homeowner in Devon. “The RN1 runs quietly, and we saw our electricity bill rise only £6 per month.”
- Sub-Slab Cons: “Drilling the slab was dusty and needed a structural engineer,” notes John R., from Kent. “Cost extra £120 for inspection.”
- Crawl Space Pros: “The vapour barrier made our crawl space drier, reducing mole odours,” reports Naomi P., in Bristol. “Radon went from 320 to 55 Bq/m³.”
- Crawl Space Cons: “Moisture buildup required a fan upgrade after two years,” says Mark S., from Wales. “Check your vapour barrier annually.”
For noise concerns, compare the RN1’s 42 dB rating with alternatives in our noise level comparison. Most owners prefer sub-slab for simplicity, but crawl space fans benefit from the same mounting advice detailed in our venting and piping guide.
Frequently Asked Questions
Can I convert a sub-slab system to a crawl space system later?
Yes, but it requires removing the slab seal and installing new pipework and a barrier. Cost is typically £400–£600, but it’s inefficient—better to choose the right method initially.
How often should I test radon with either installation?
After installation, test within 2 months. Then, annually every spring. Use a continuous monitor for accurate data—our guide suggests quarterly checks for crawl spaces due to soil moisture changes.
Can I install the Fantech RN1 myself?
Yes, with electrical knowledge. Hire a certified installer if you’re unsure; improper wiring can void the warranty. Always use a 230V circuit with an isolator switch.
What pipe diameter is best for each method?
Sub-slab: 4 inches (100 mm) standard. Crawl space: 4 inches for most homes, but 6 inches (150 mm) for spaces over 200 m² or clay soils. The RN1 accepts up to 6-inch fittings.
Does the RN1’s warranty cover crawl space installations?
Yes, Fantech covers 5 years for fans installed in dry, ventilated crawl spaces. Moisture damage from a failed vapour barrier is not covered—ensure barrier integrity.
Which method is safer for radon exposure reduction?
Sub-slab is slightly more effective, reducing levels by 85% average. Crawl space achieves 70–75%, but also lowers humidity, which is beneficial for health. Both are safe when installed correctly.