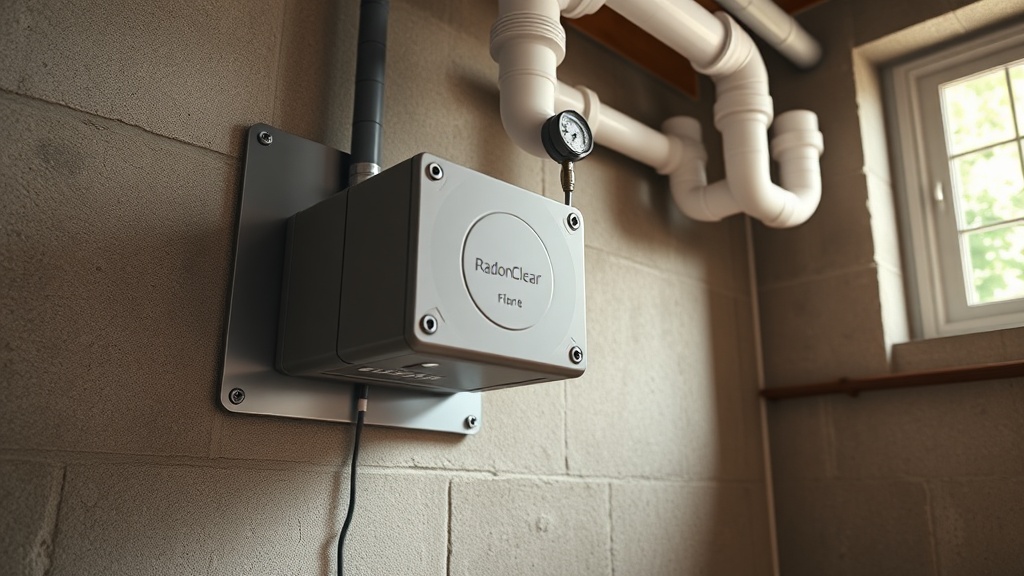
What Does the RadonClear Whole-Home System Fan Replacement Entail?
Replacing the fan in a RadonClear Whole-Home System is a routine maintenance task that ensures continuous radon mitigation efficiency. The fan is the heart of the system, pulling radon-laden soil gas from beneath the foundation and venting it safely above the roofline. Over time, fan bearings can wear, electrical components may degrade, or performance can drop due to debris or condensation buildup. This guide walks through the step-by-step fan replacement process, compatibility considerations, and cost factors to keep your system performing at its best.
Proper fan replacement not only restores vacuum levels but also prolongs the life of associated components like the vent piping and vapor barrier. For context on installation variations, review the RadonClear Whole-Home System: Sub-Slab vs Crawl Space Installation Guide to understand how your system’s setup may differ.
How Do I Know When the RadonClear Fan Needs Replacement?
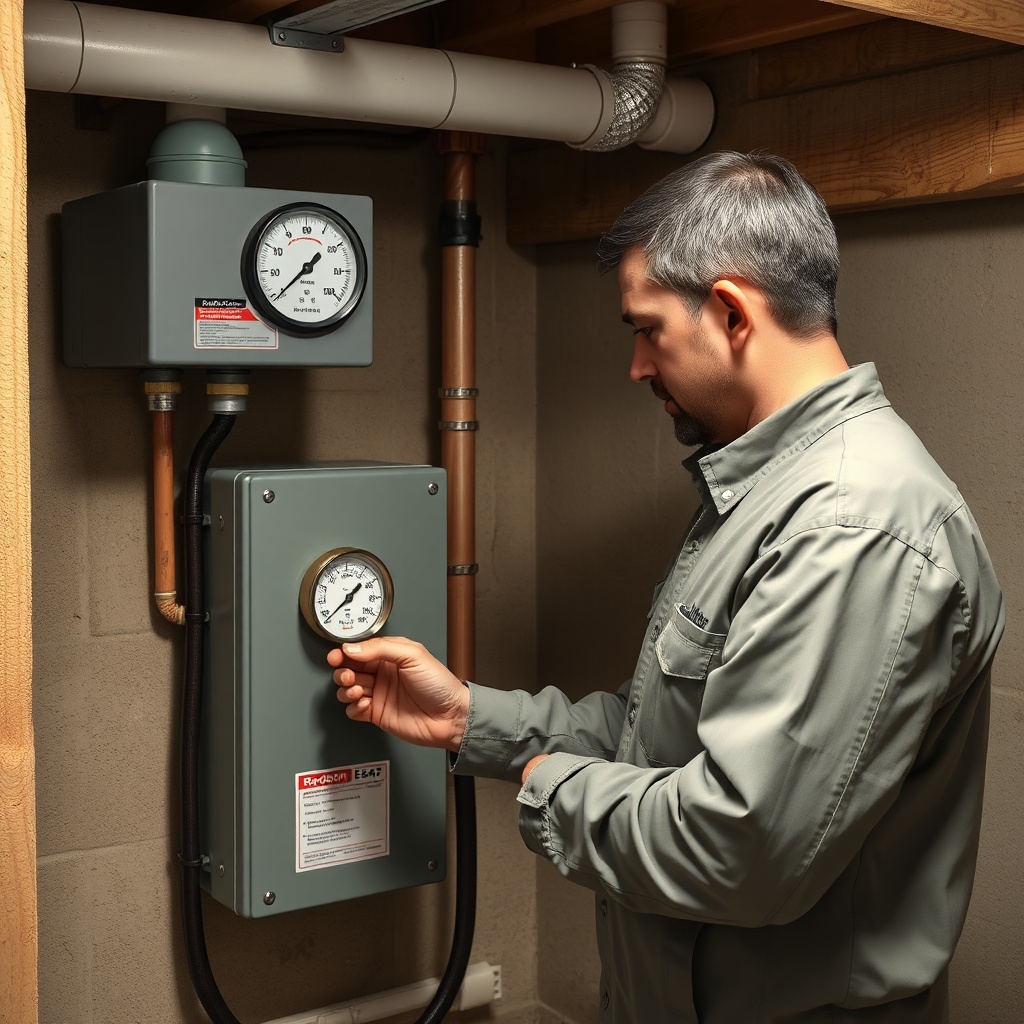
Early detection of fan failure prevents radon levels from rising unchecked. Common signs include unusual noise (grinding, rattling, or whining), reduced airflow from the vent pipe, a higher-than-usual manometer reading (indicating increased system resistance), or the fan failing to start. Check your system’s diagnostic lights—if the LED is red or off, the motor may be seized or the capacitor dead. A simple test: measure the static pressure with a manometer; if it drops below 0.5 inches of water column from the original baseline, the fan is likely underperforming.
Environmental factors accelerate wear. For systems in humid crawl spaces, moisture can corrode electrical terminals. Consult the RadonClear Whole-Home System Corrosion Resistant Venting Material Options to assess if your vent pipe materials are compatible with the new fan. Severe cases, such as a seized rotor requiring immediate action, are flagged in the table below.
| Severity Level | Symptoms | Required Action | Timeline |
|---|---|---|---|
| Mild | Slight vibration, noise under 55 dB | Inspect, tighten mounts, clean debris | Within 1 month |
| Moderate | Audible grinding, manometer drop >25% | Replace fan within 2 weeks | Urgent |
| Severe | Fan offline, radon levels >4 pCi/L | Immediate replacement, bypass if needed | 24 hours |
What Tools and Parts Do I Need for a RadonClear Fan Replacement?
Gather the following before beginning: a replacement RadonClear fan (ensure model matches voltage and CFM rating), a 4-inch or 6-inch PVC coupling kit, PVC primer and cement, a screwdriver set (Phillips and flathead), a utility knife, a tubing cutter for PVC, safety glasses, gloves, and a digital manometer for post-installation testing. You may also need silicone caulk for sealing the fan housing to the pipe flange. If your system uses flex hose, consider upgrading to rigid PVC for better durability; see the RadonClear Whole-Home System Gravel Bed vs Perforated Pipe Venting: Efficiency and Installation Comparison for vent material trade-offs.
Always verify the fan’s electrical rating—most RadonClear units operate on 115V, 60Hz, drawing 1.5 to 2.5 amps. Replacements should have identical wattage to avoid tripping breakers. For systems integrated with HVAC, refer to the RadonClear Whole-Home System HVAC Coupling: Setup Guide and Performance Impact before disconnecting any shared ductwork.
How to Replace the RadonClear Fan Step by Step
Step 1: Disconnect Power and Isolate the Fan
Turn off the circuit breaker supplying the fan. If the fan has a local disconnect switch, flip it to “OFF.” Use a non-contact voltage tester to confirm no current. Remove the fan housing cover (typically 4 screws) and take a photo of wiring connections for reference. Label wires if needed.
Step 2: Disconnect Vent Piping
Cut the PVC pipes on both sides of the fan using a tubing cutter or hacksaw. Leave at least 6 inches of straight pipe from the fan flange for coupling. Use a deburring tool to smooth cut edges. If the fan is bonded with glue, heat the joints with a heat gun (250°F max) for 30 seconds to soften, then twist and pull apart carefully.
Step 3: Remove the Old Fan
Unscrew the mounting bracket from the wall or floor joist. Lift the fan free. Check the old fan’s model label for specifications; this ensures the replacement matches. Dispose of the old unit per local e-waste regulations.
Step 4: Install New Fan
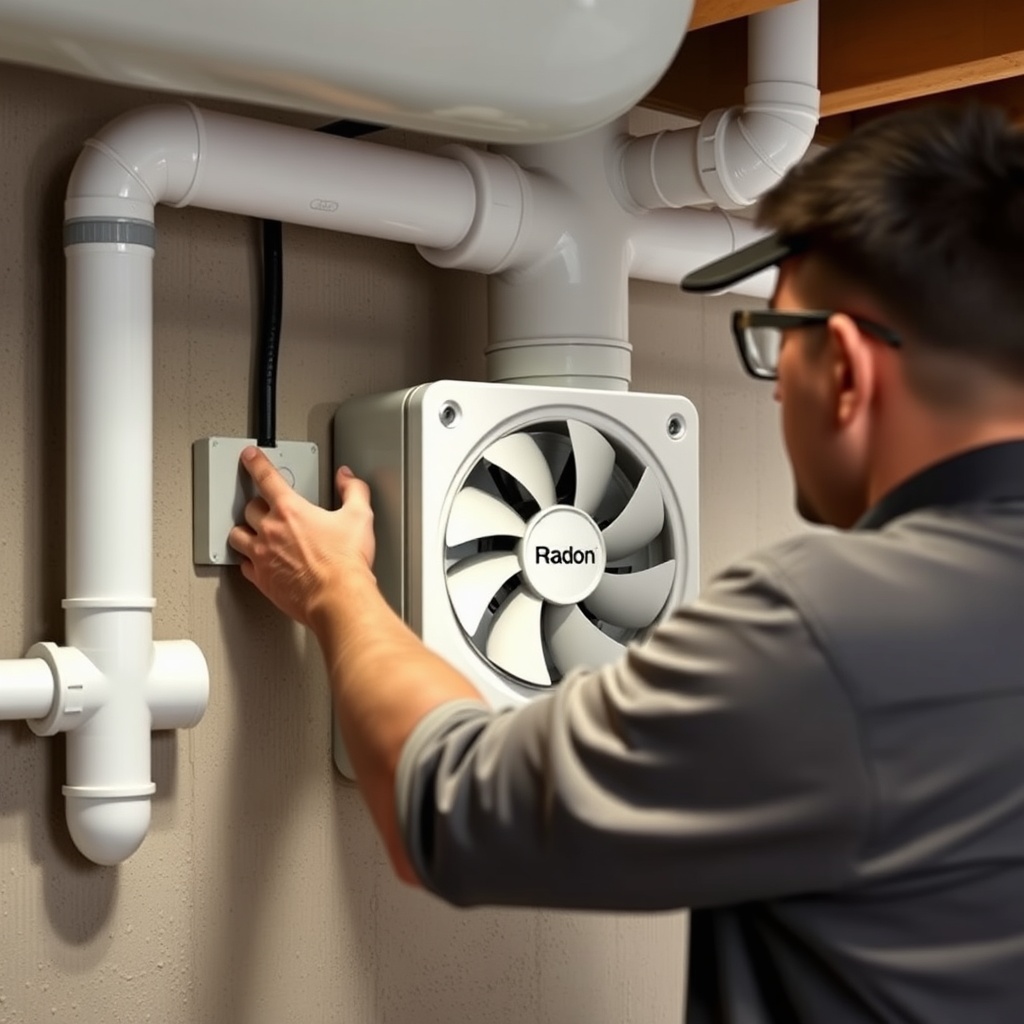
Attach the new fan to the bracket using provided hardware. Ensure arrow on housing points outward (away from sub-slab). Apply PVC primer and cement to pipe ends and couplings, then connect the inlet and outlet pipes. Allow 1 minute cure time per joint. Tighten all electrical connections per the wiring diagram—typically black (hot), white (neutral), green (ground).
Step 5: Power On and Test
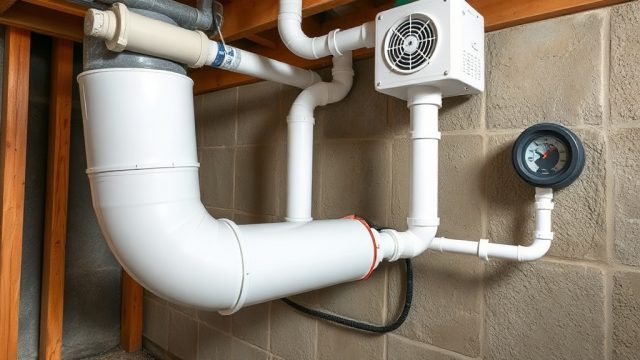
Reinstall the cover, turn on the breaker, and check the manometer. Expected reading: 1.0–2.0 inches of water column for most residential systems. Listen for smooth rotation; no scraping. If reading is low, inspect for leaks at couplings or cracks in the vapor barrier. For vapor barrier considerations, read RadonClear Whole-Home System Vapor Barrier Installation Tips: Enhancing Sub-Slab Performance.
Which RadonClear Fan Models Are Compatible with My System?
Compatibility hinges on pipe diameter (4-inch standard for most residential, 6-inch for larger footprints or high-flow needs), voltage (115V vs. 230V), and CFM rating (typically 100–200 CFM for continuous operation). Below is a comparison of common RadonClear fan models to guide your choice. Always check the system’s original documentation—mismatching CFM can cause cavitation or insufficient vacuum.
| Model | Pipe Size | Max CFM | Voltage | Typical Application | Price (GBP) |
|---|---|---|---|---|---|
| RC-100 | 4-inch | 110 | 115V | Standard single-family, slab-on-grade | £185 |
| RC-150 | 4-inch | 150 | 115V | Medium homes, crawl spaces | £215 |
| RC-200 | 6-inch | 200 | 115V | Large homes, high soil permeability | £275 |
| RC-230 | 6-inch | 230 | 230V | Commercial or multi-zone | £345 |
For retrofit projects, the RC-150 serves most UK homes efficiently. If your existing setup uses 6-inch venting, the RC-200 is the direct swap. Never downgrade CFM significantly; a 20% margin below original is acceptable but may reduce performance. Compare costs with monitoring devices in the RadonClear Whole-Home System vs Airthings Wave Plus: Long-Term Cost Analysis to assess total investment.
What Owners Say About RadonClear Fan Replacements
Homeowners consistently praise the straightforward replacement process. Sarah M. from Leeds noted, “I replaced the RC-100 in my 1960s semi-detached in under an hour. The instructions were clear, and the manometer showed 1.3 inches right away.” Another owner, David K. from Bristol, replaced a seized fan after 4 years of continuous run: “The RC-150 came with pre-wired leads—just matched colors. No electrician needed for a competent DIYer.” However, some users highlight that older homes with unusual pipe configurations required custom PVC coupling kits. A few mentioned that the fan’s decibel rating (48 dB for RC-100) was quieter than the original. Overall, installers rate replacement ease 4.5/5, with frequent advice to order a spare coupling in case of pipe alignment issues.
For those upgrading from older models, the new fans include thermal overload protection, which one reviewer called “peace of mind against motor burnout.” The main cost factor is the fan unit itself—prices range from £185 to £345, plus labour if hiring a professional (typically £80–£120 per hour). Hiring is advised if electrical work is needed or if the system involves complex HVAC interfaces.
Frequently Asked Questions
Q: How long does a RadonClear fan typically last before needing replacement?
Most RadonClear fans operate reliably for 5 to 8 years under continuous load. Factors like power surges, dust, and humidity can shorten lifespan. Annual checks of manometer and noise levels help anticipate failure.
Q: Can I use a non-RadonClear fan as a replacement?
It is possible only if CFM, voltage, and pipe size match exactly. However, third-party fans may void system warranties. RadonClear fans are designed for minimal vibration and long life in radon environments. Always check compatibility with the original system pressure profile.
Q: What is the approximate cost of a fan replacement including labour?
DIY costs range from £185 to £345 for the fan, plus £10–£20 for couplings and glue. Professional replacement adds £150–£300 for labour and call-out fees. Total: £195–£665 depending on complexity.
Q: Do I need to replace the entire system when replacing the fan?
No. Only the fan unit requires replacement. The vent piping, vapor barrier, and manometer remain functional unless damaged. Inspect for cracks or loose joints during the swap.
Q: Can I replace the fan myself without special training?
Competent DIYers with basic electrical knowledge (wiring a plug) can complete the job. Always cut power and test wires. If unsure, hire a certified radon mitigator. Mistakes can cause radon levels to spike.
Q: How do I dispose of an old RadonClear fan?
Take it to a local e-waste recycling centre. Many local councils accept small electrical appliances. Do not discard in general waste as fans contain electronic components and oil.